
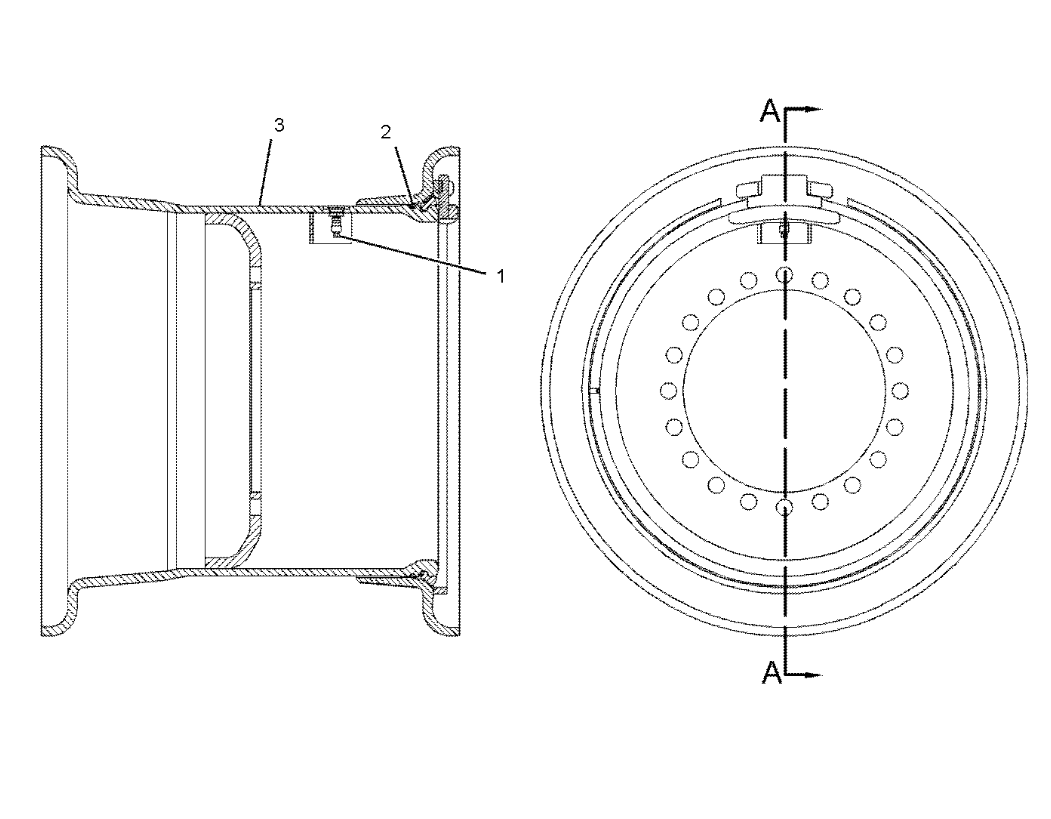
First of all, let's add this image. Go to the front view (numpad 1) and press shift a. Then go to Image > Background.
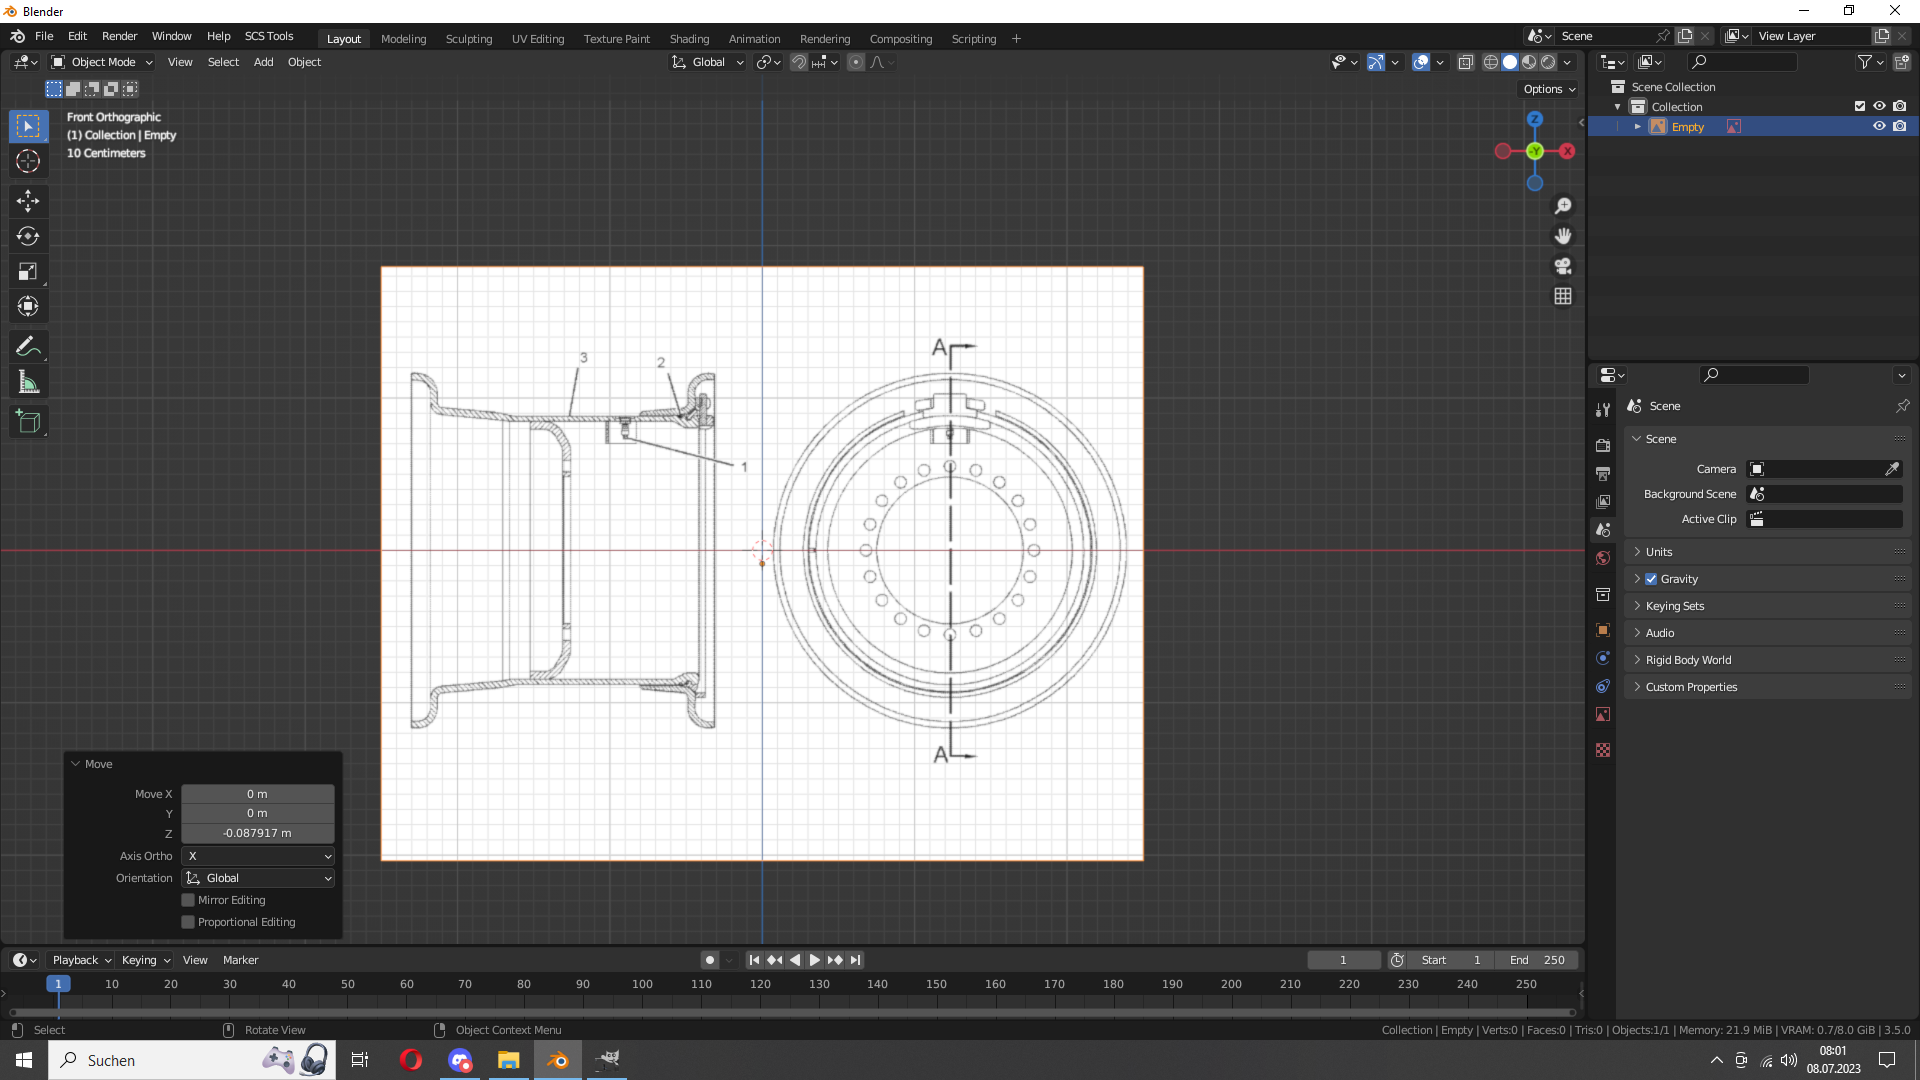
After that, we have to move it a bit down. Press g then z. Use the number I show in the picture.
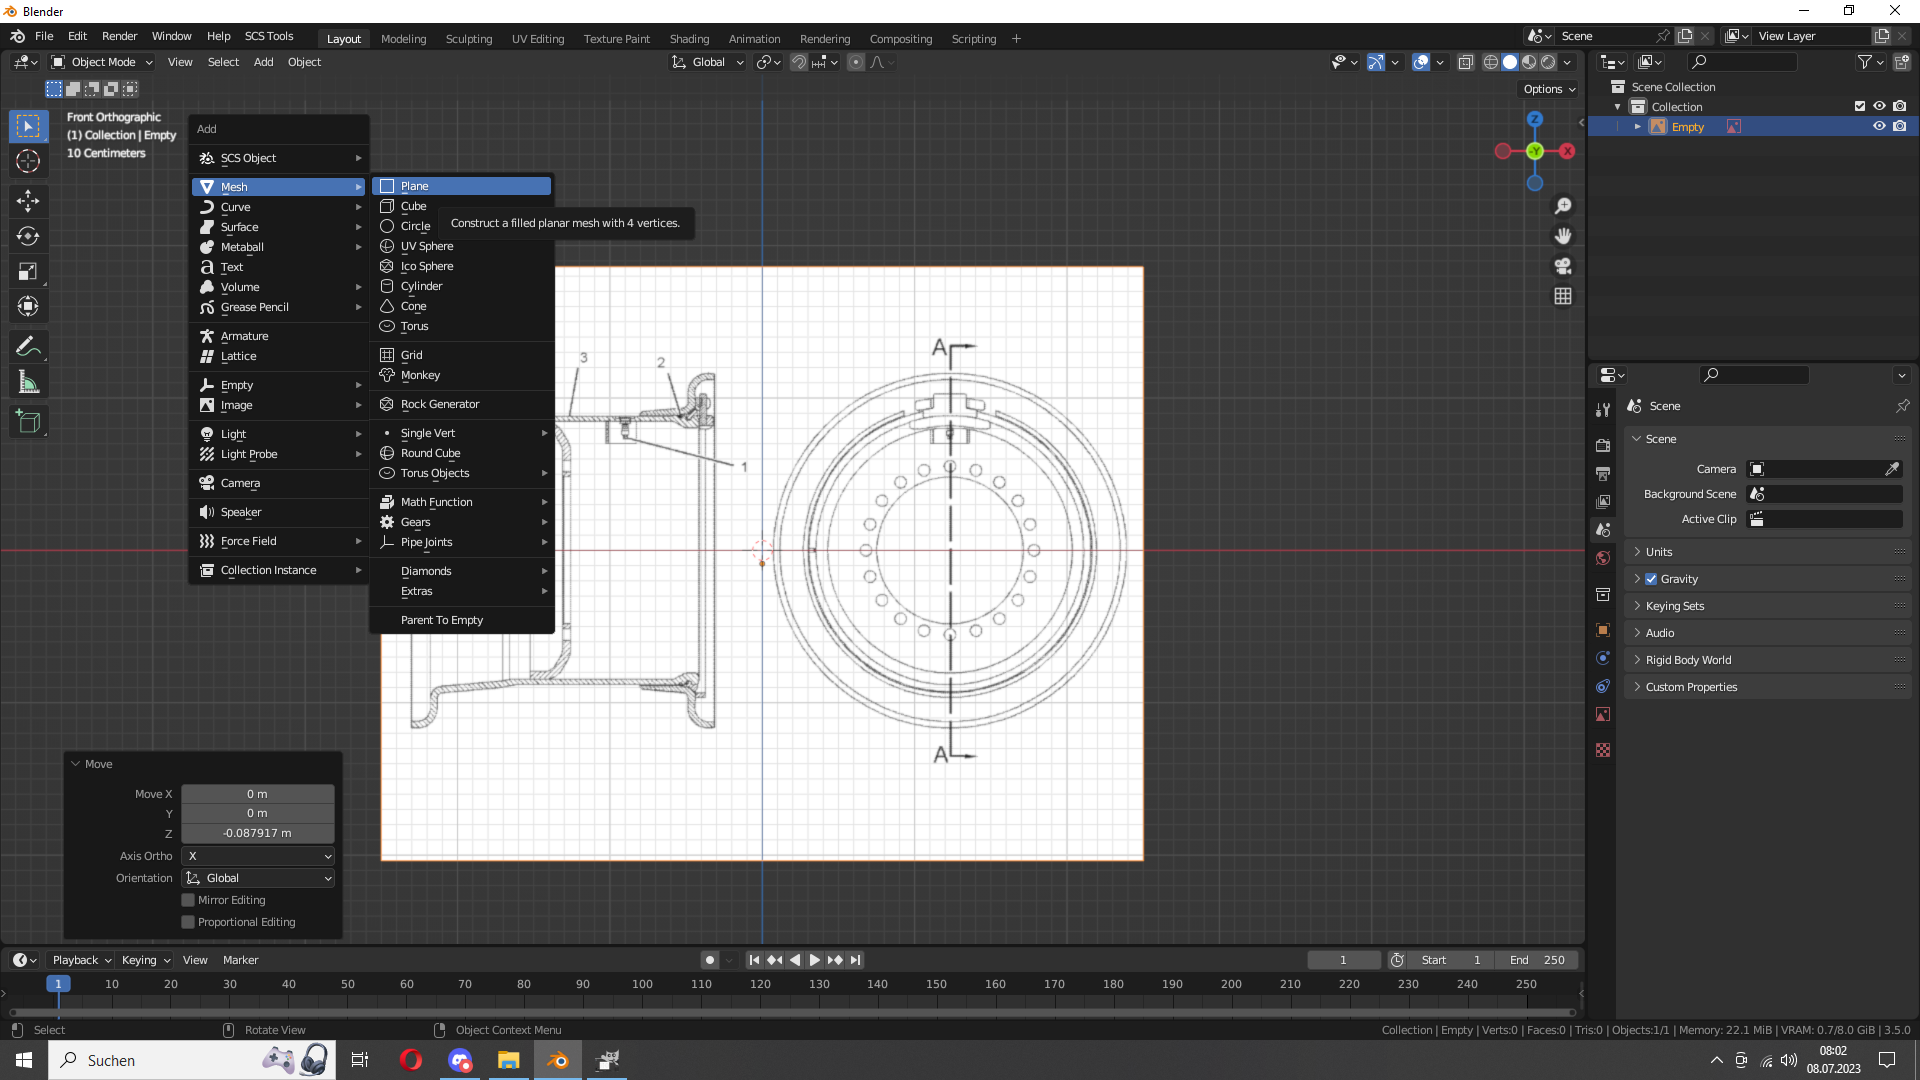
Then let's create a simple plan. Pres shift a and go to Mesh > Plane
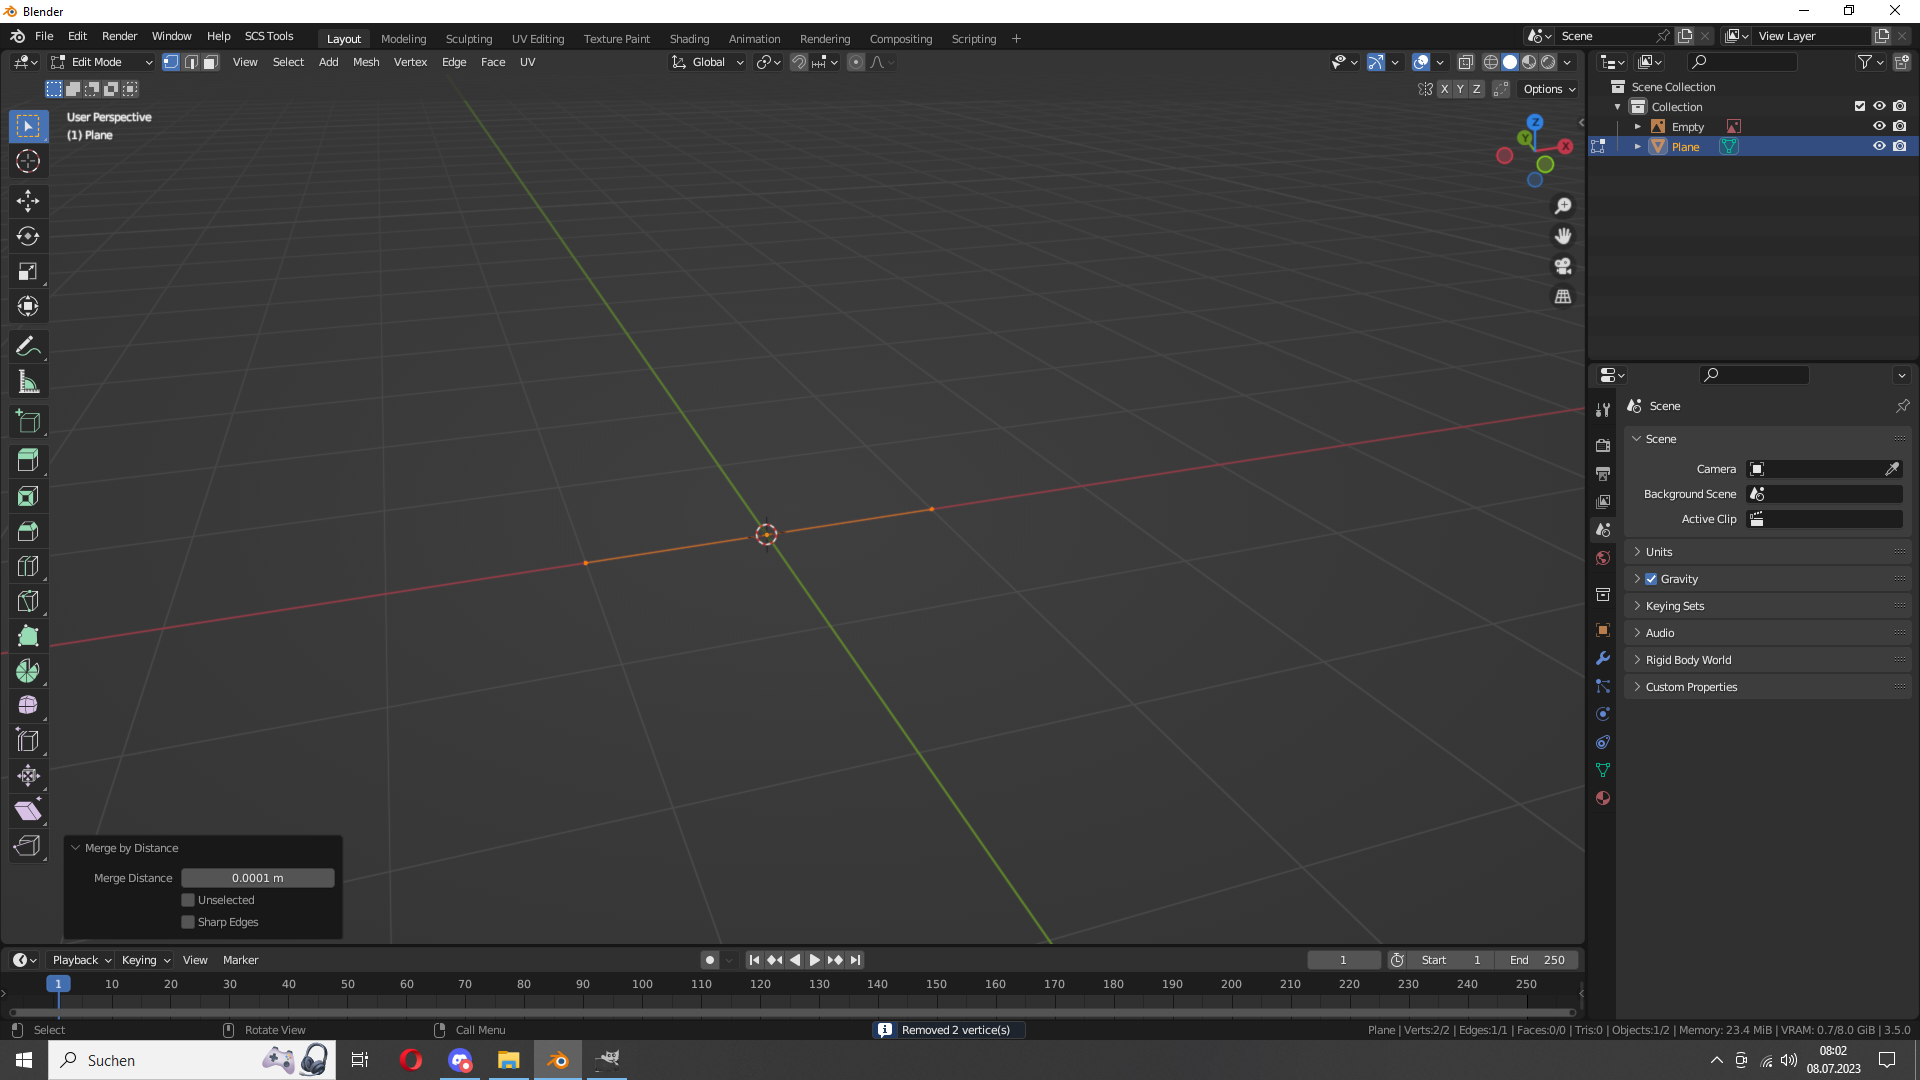
Now we only want 2 vertices, not 4. let's scale it all to y zero. Go to Edit Mode, select all (press a), press z then y then 0. After that press alt m to merge them. Or go to the top menu > Mesh > Merge > By Distance
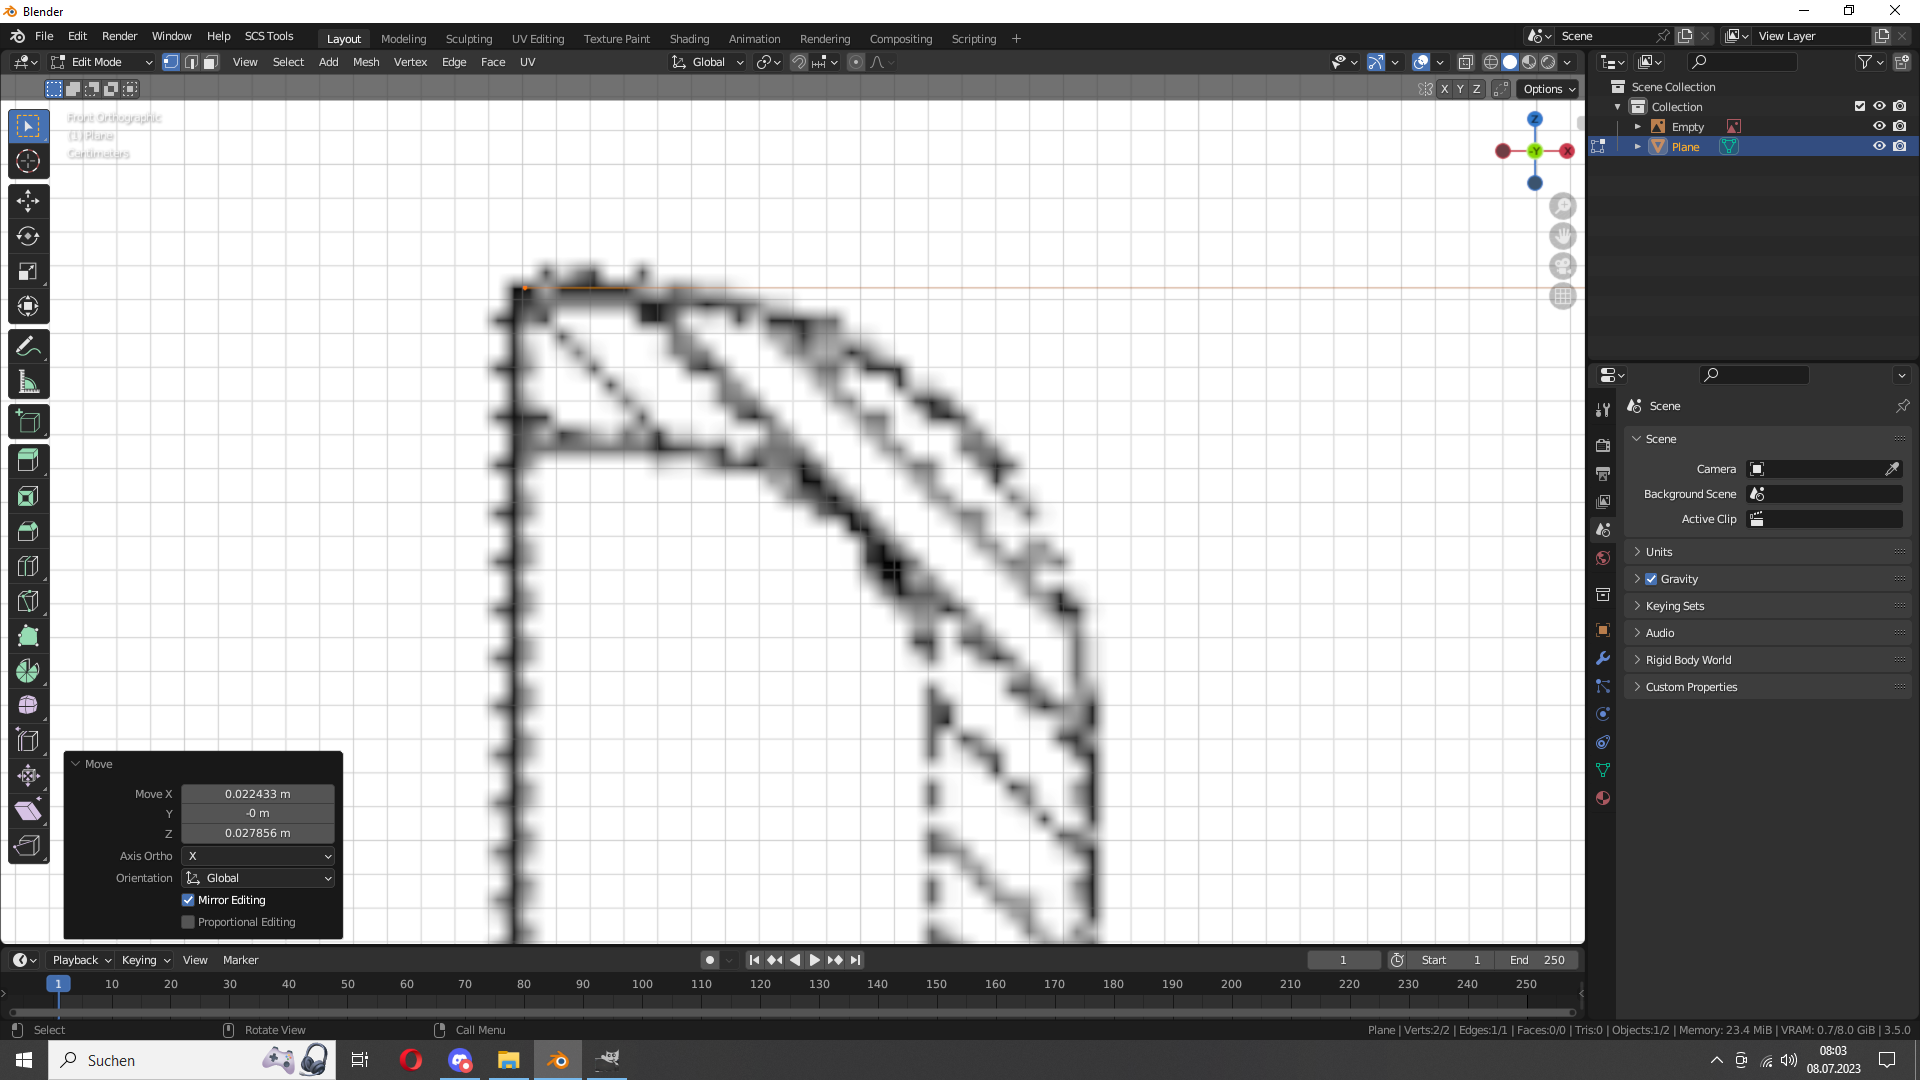
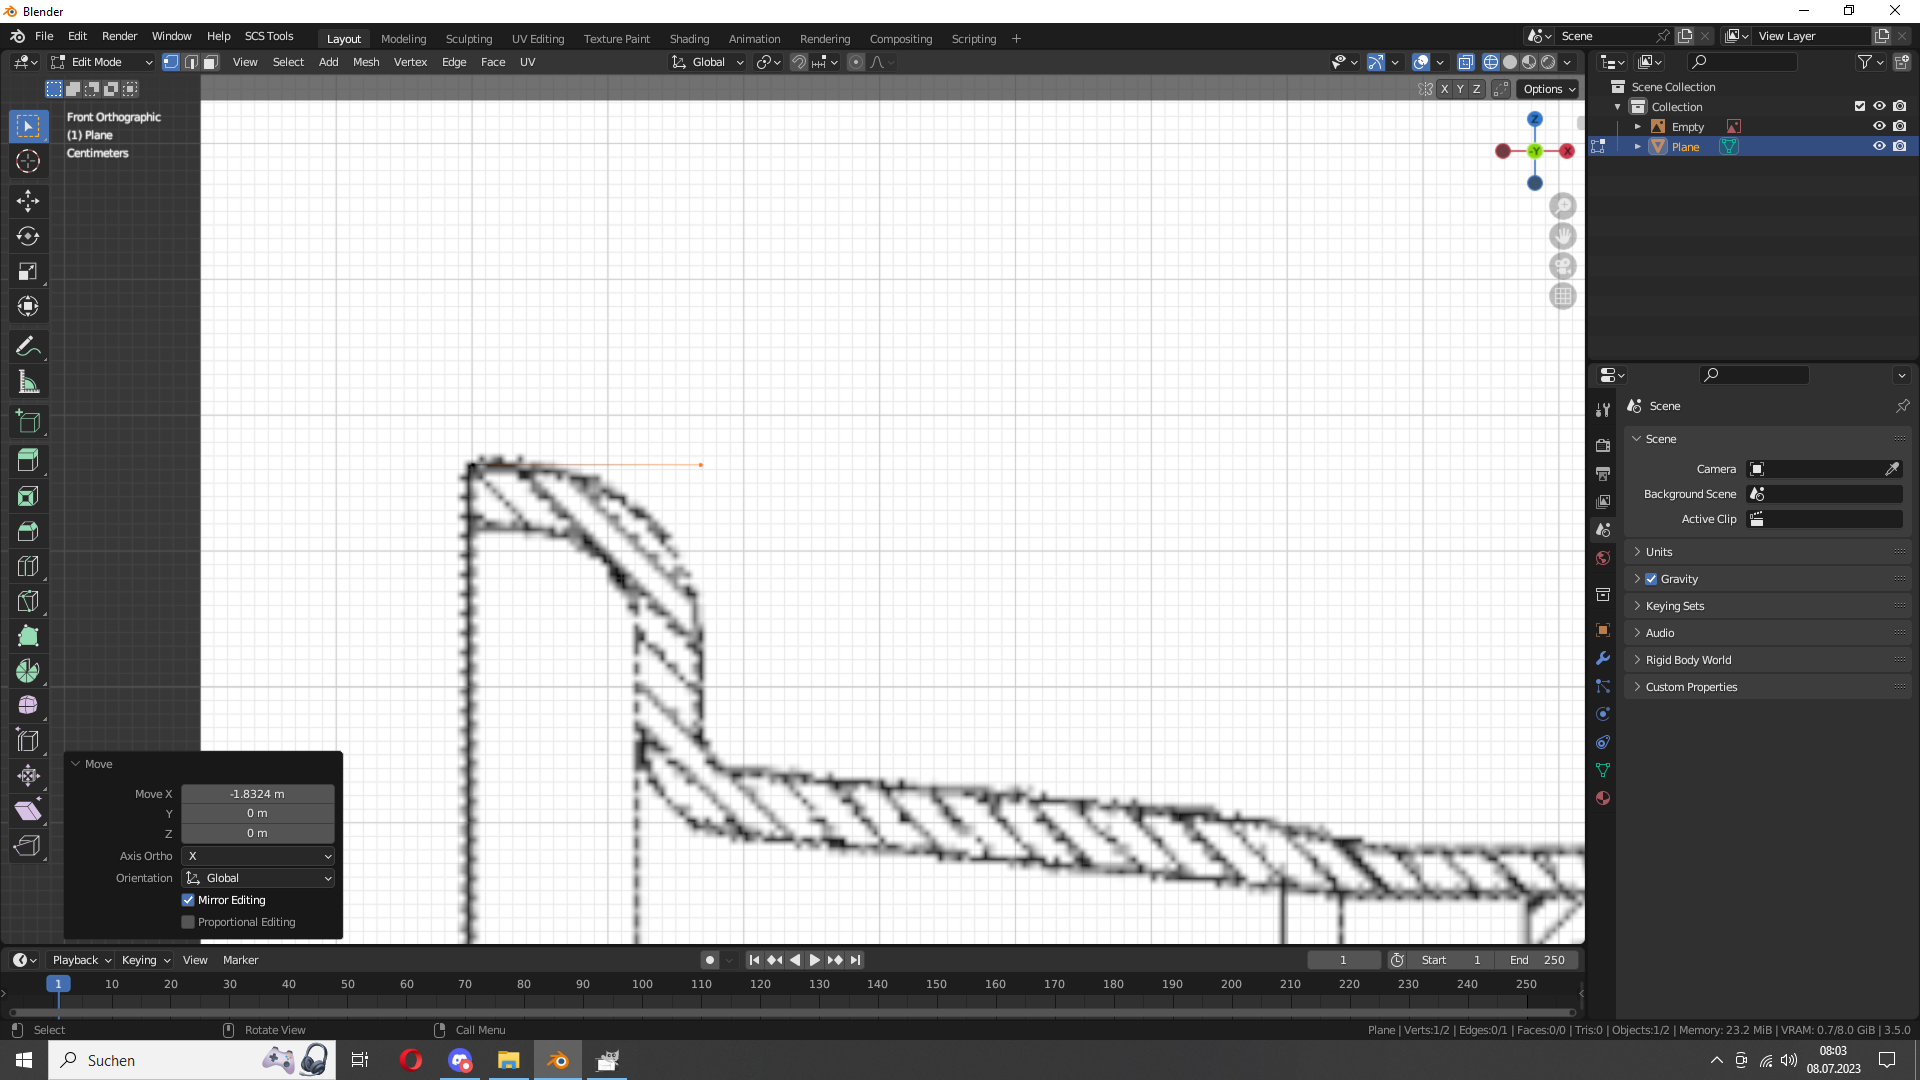
Now we have to move it into place, select all, press g and move it like in the picture
Now select only the right vertice.
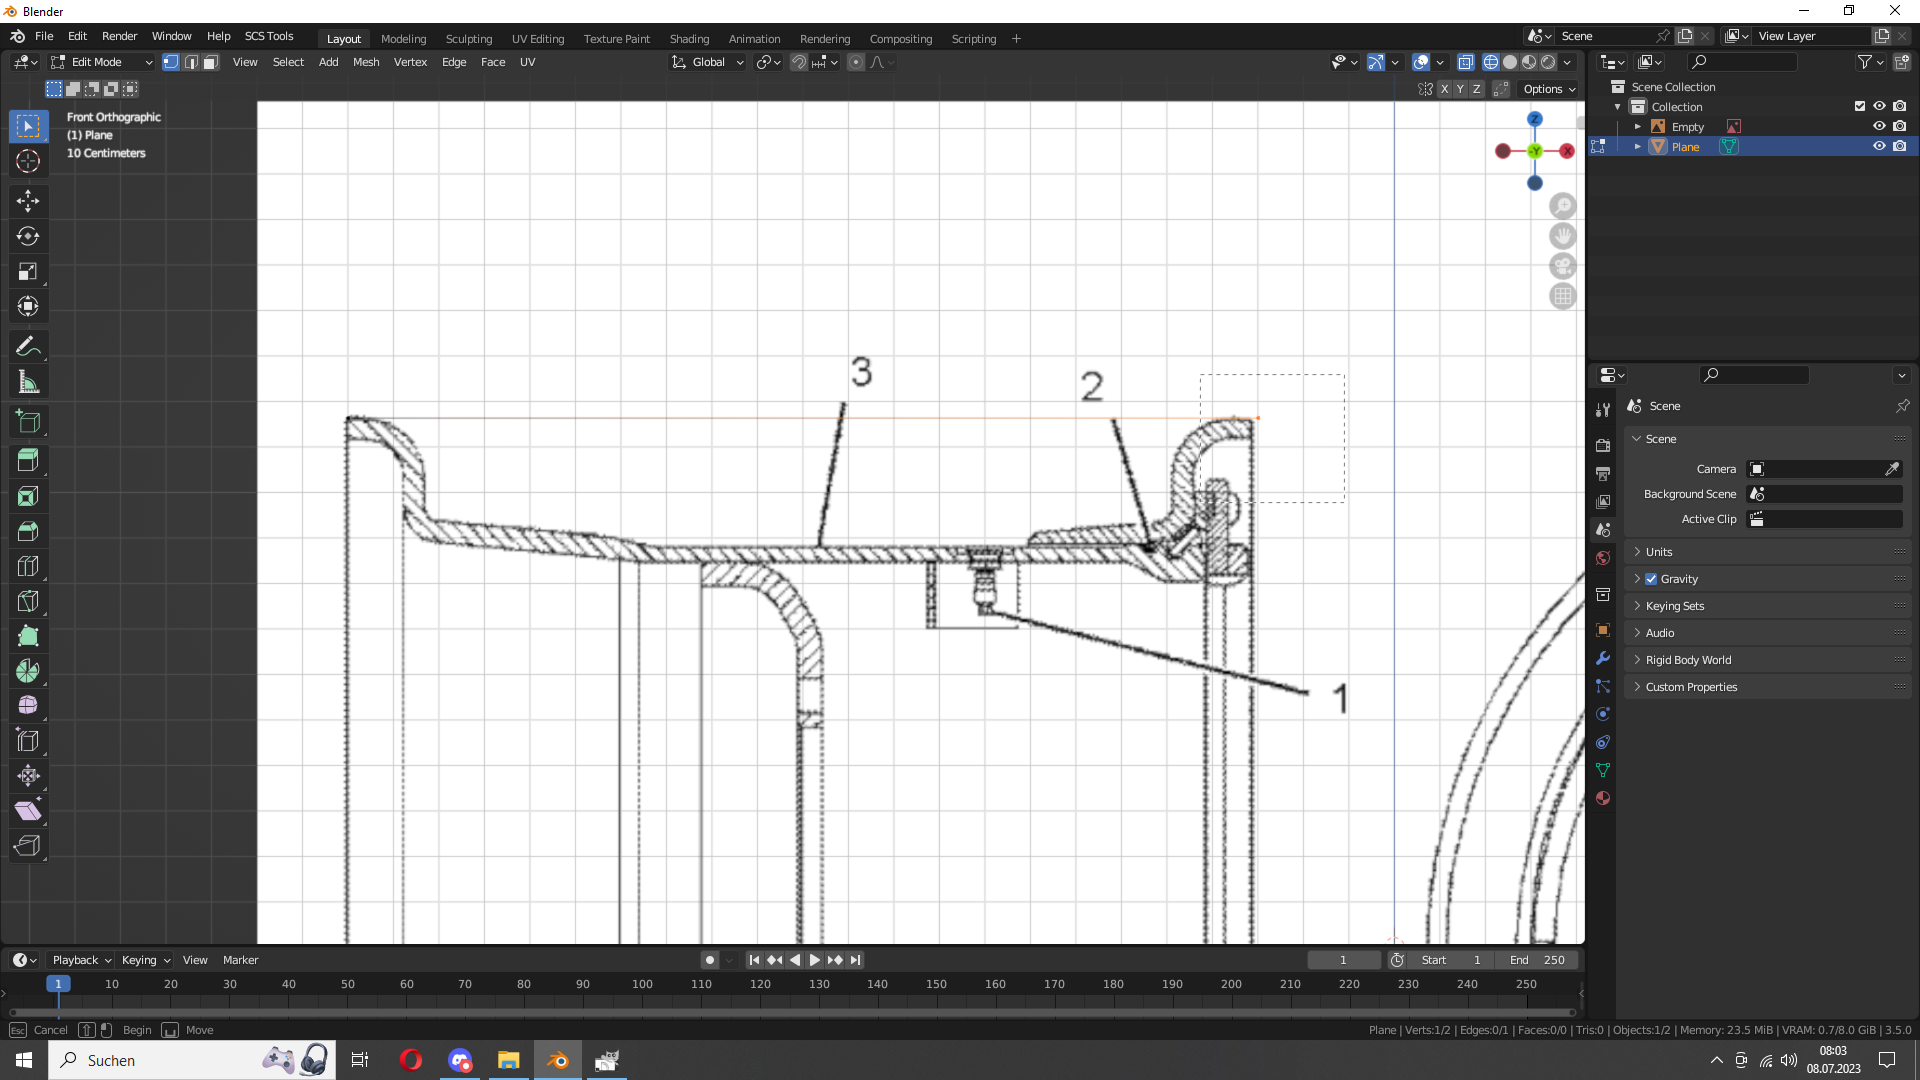
And move it to the left.
Now we use extrude. Press e and use x or y to move it.
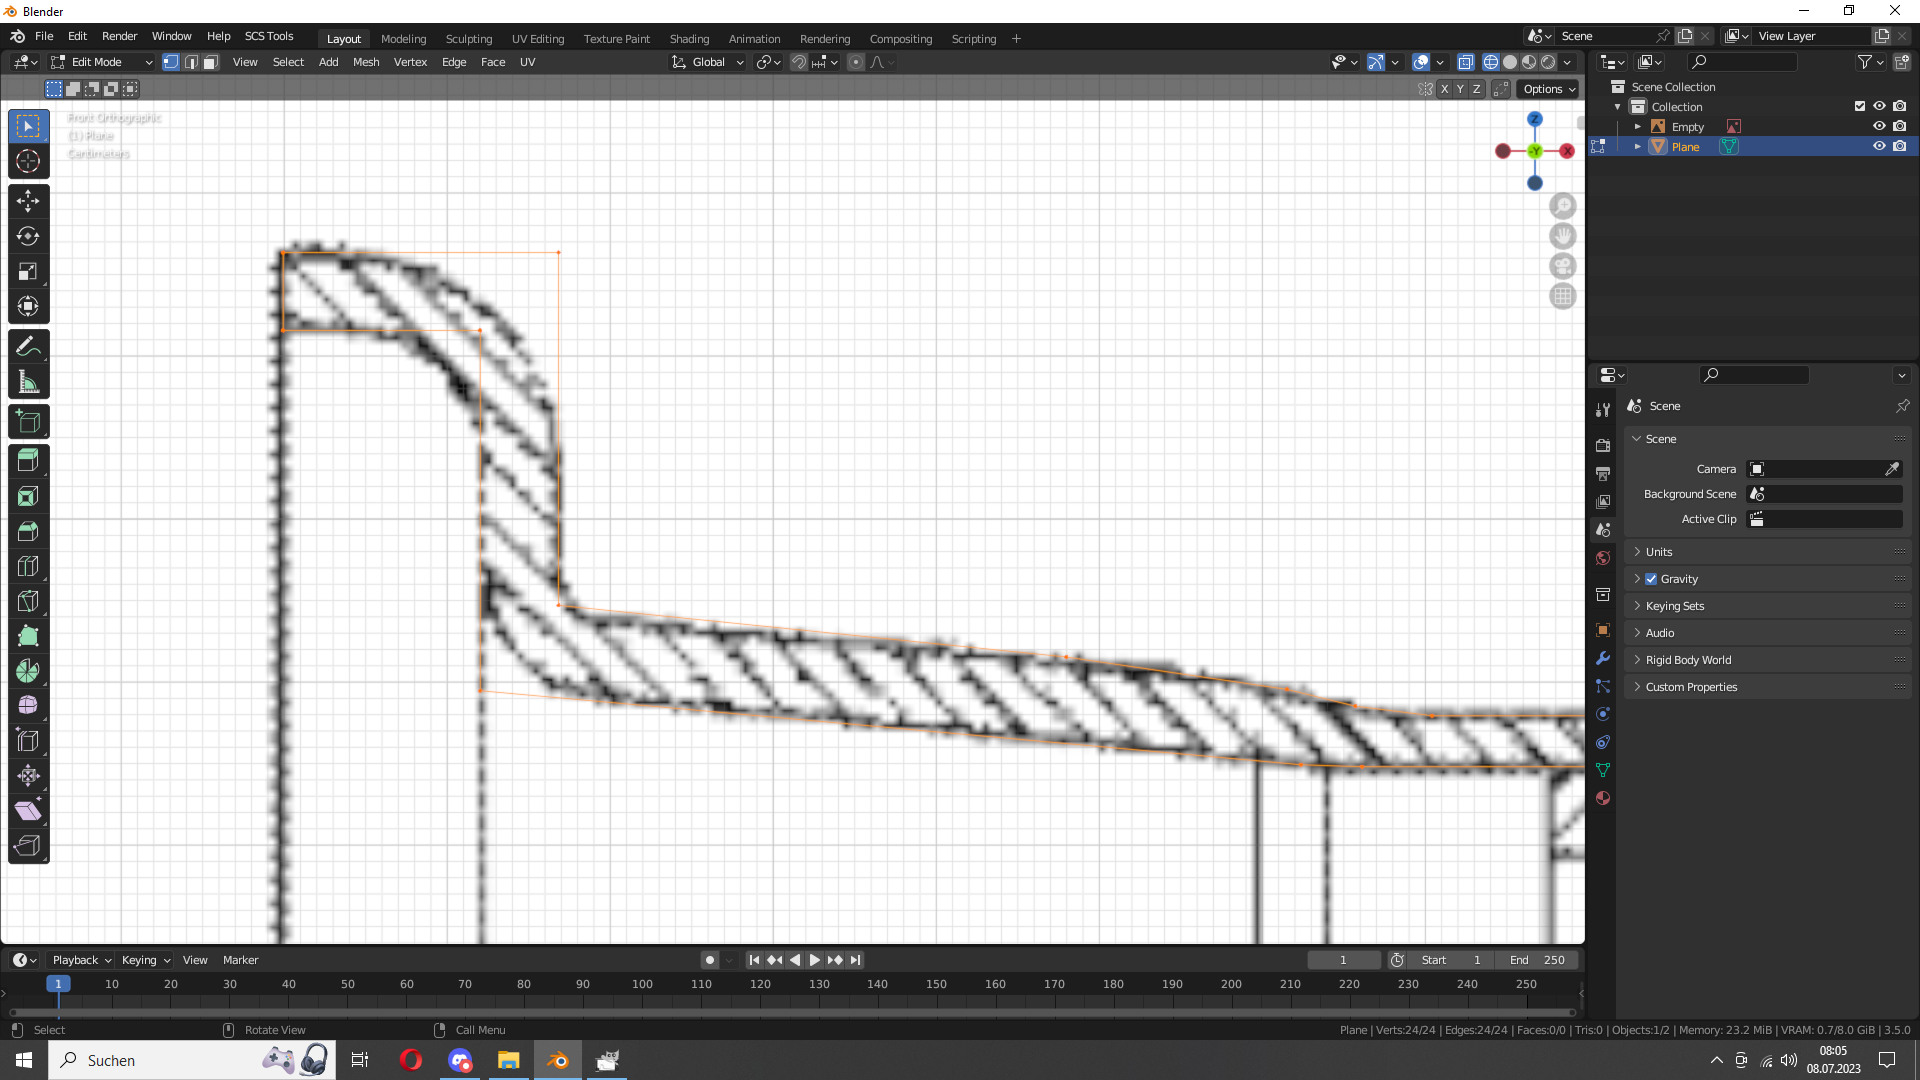
Continue with extrude
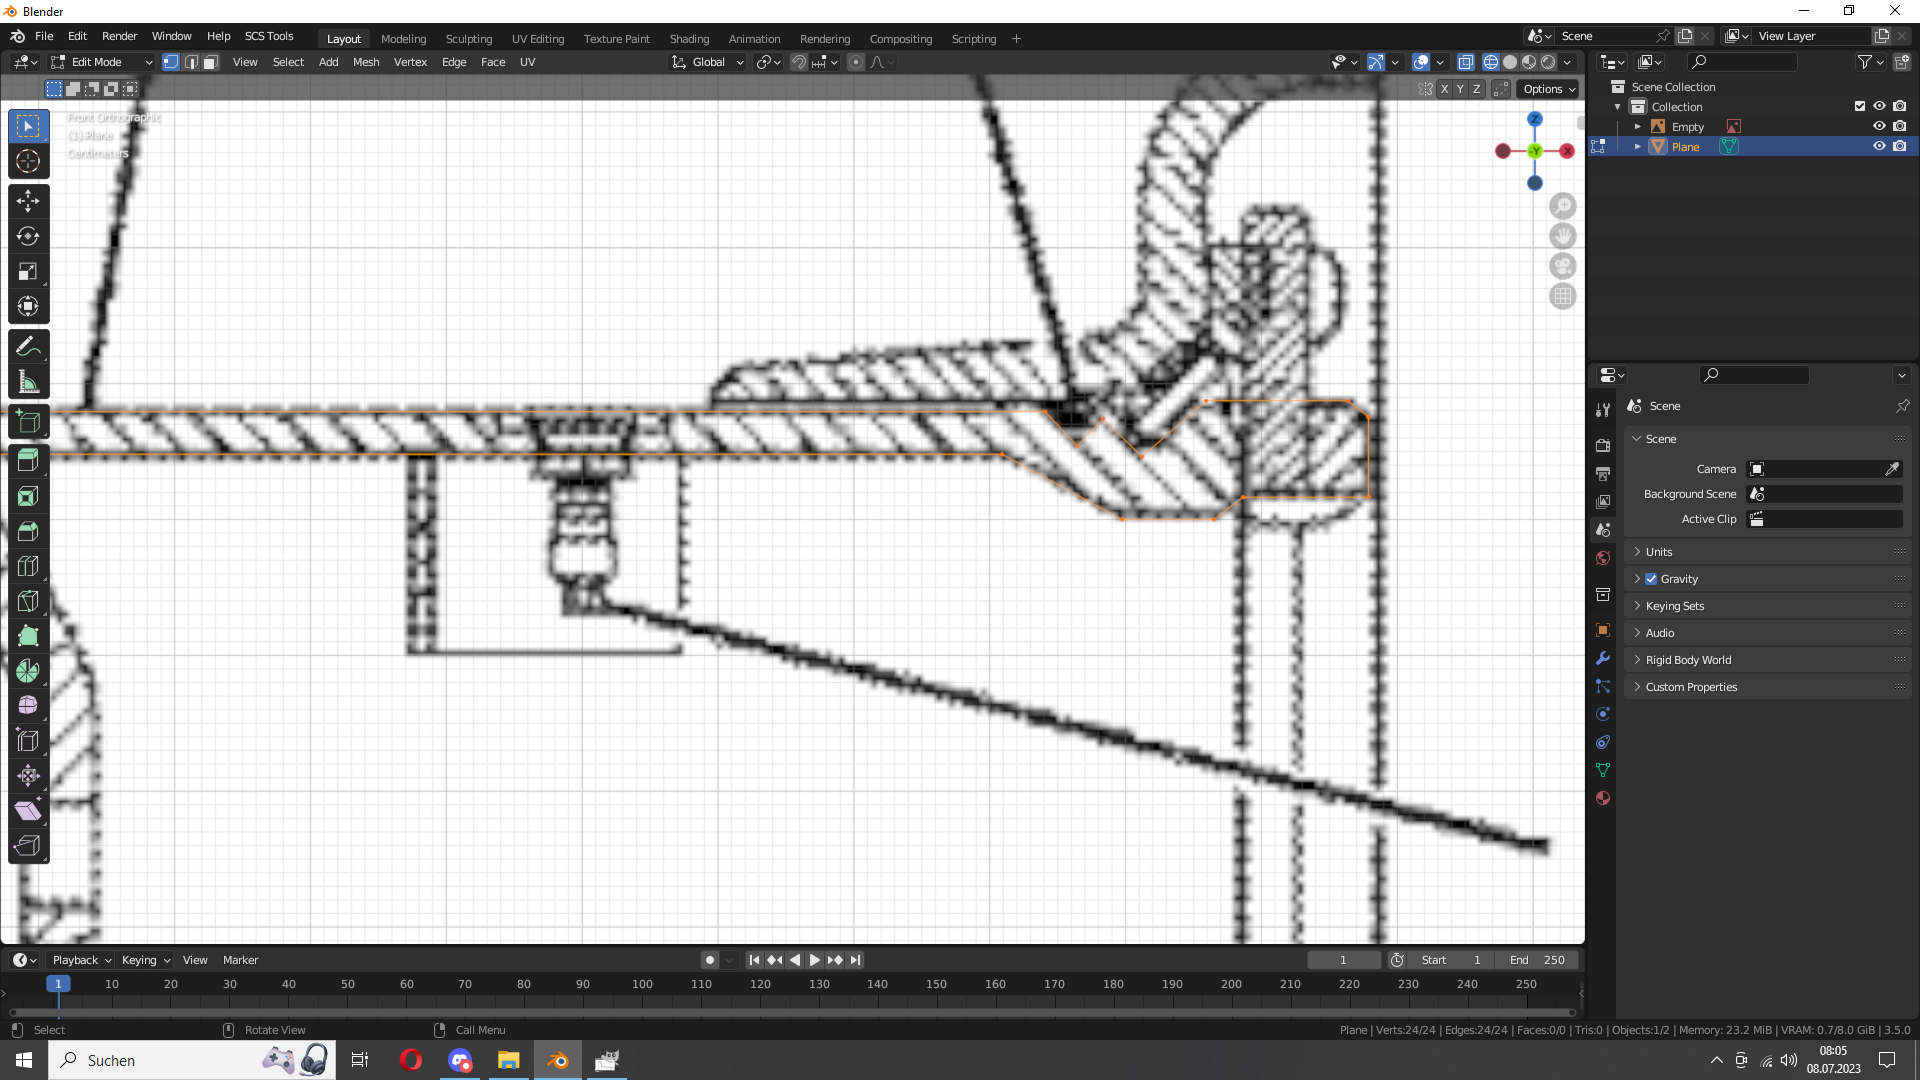
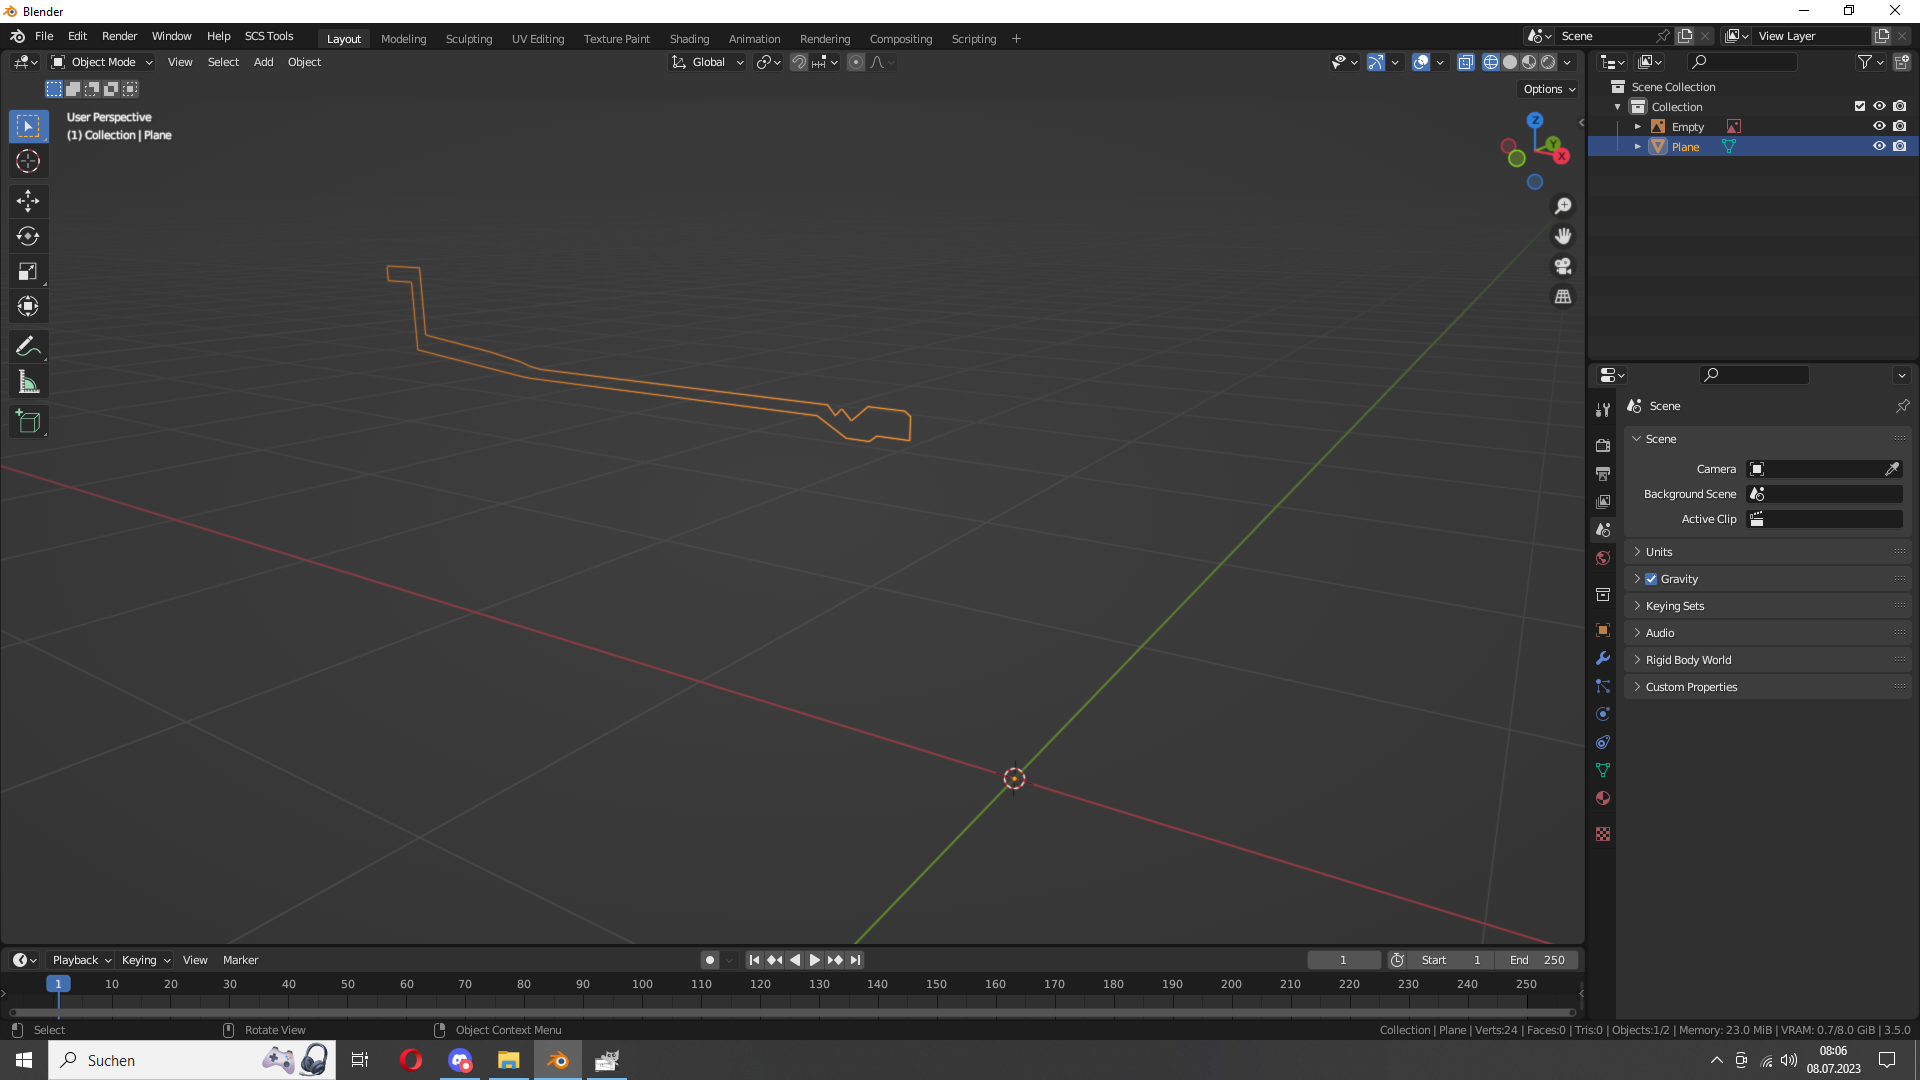
After that we have this mesh. If you want to fill a hole (probably the last piece) select both vertices and press f
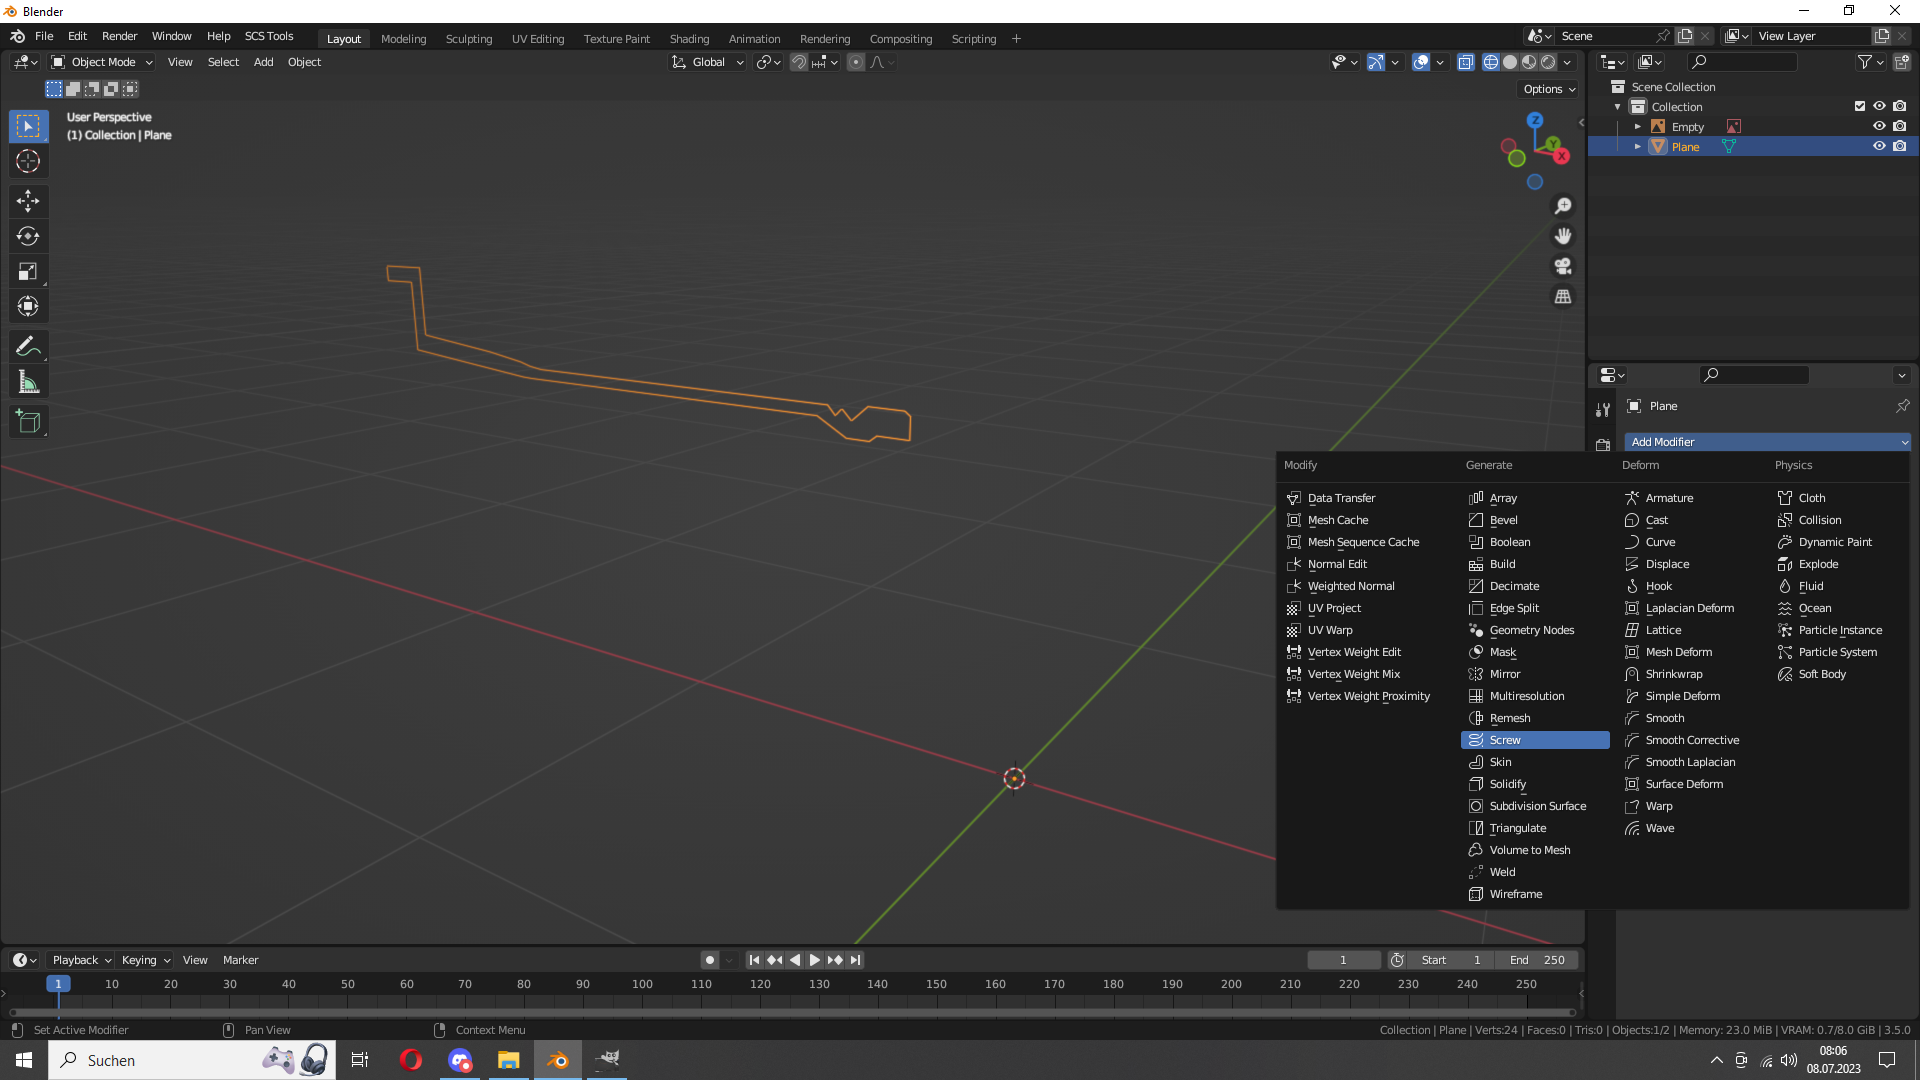
Now we add a Screw Modifier
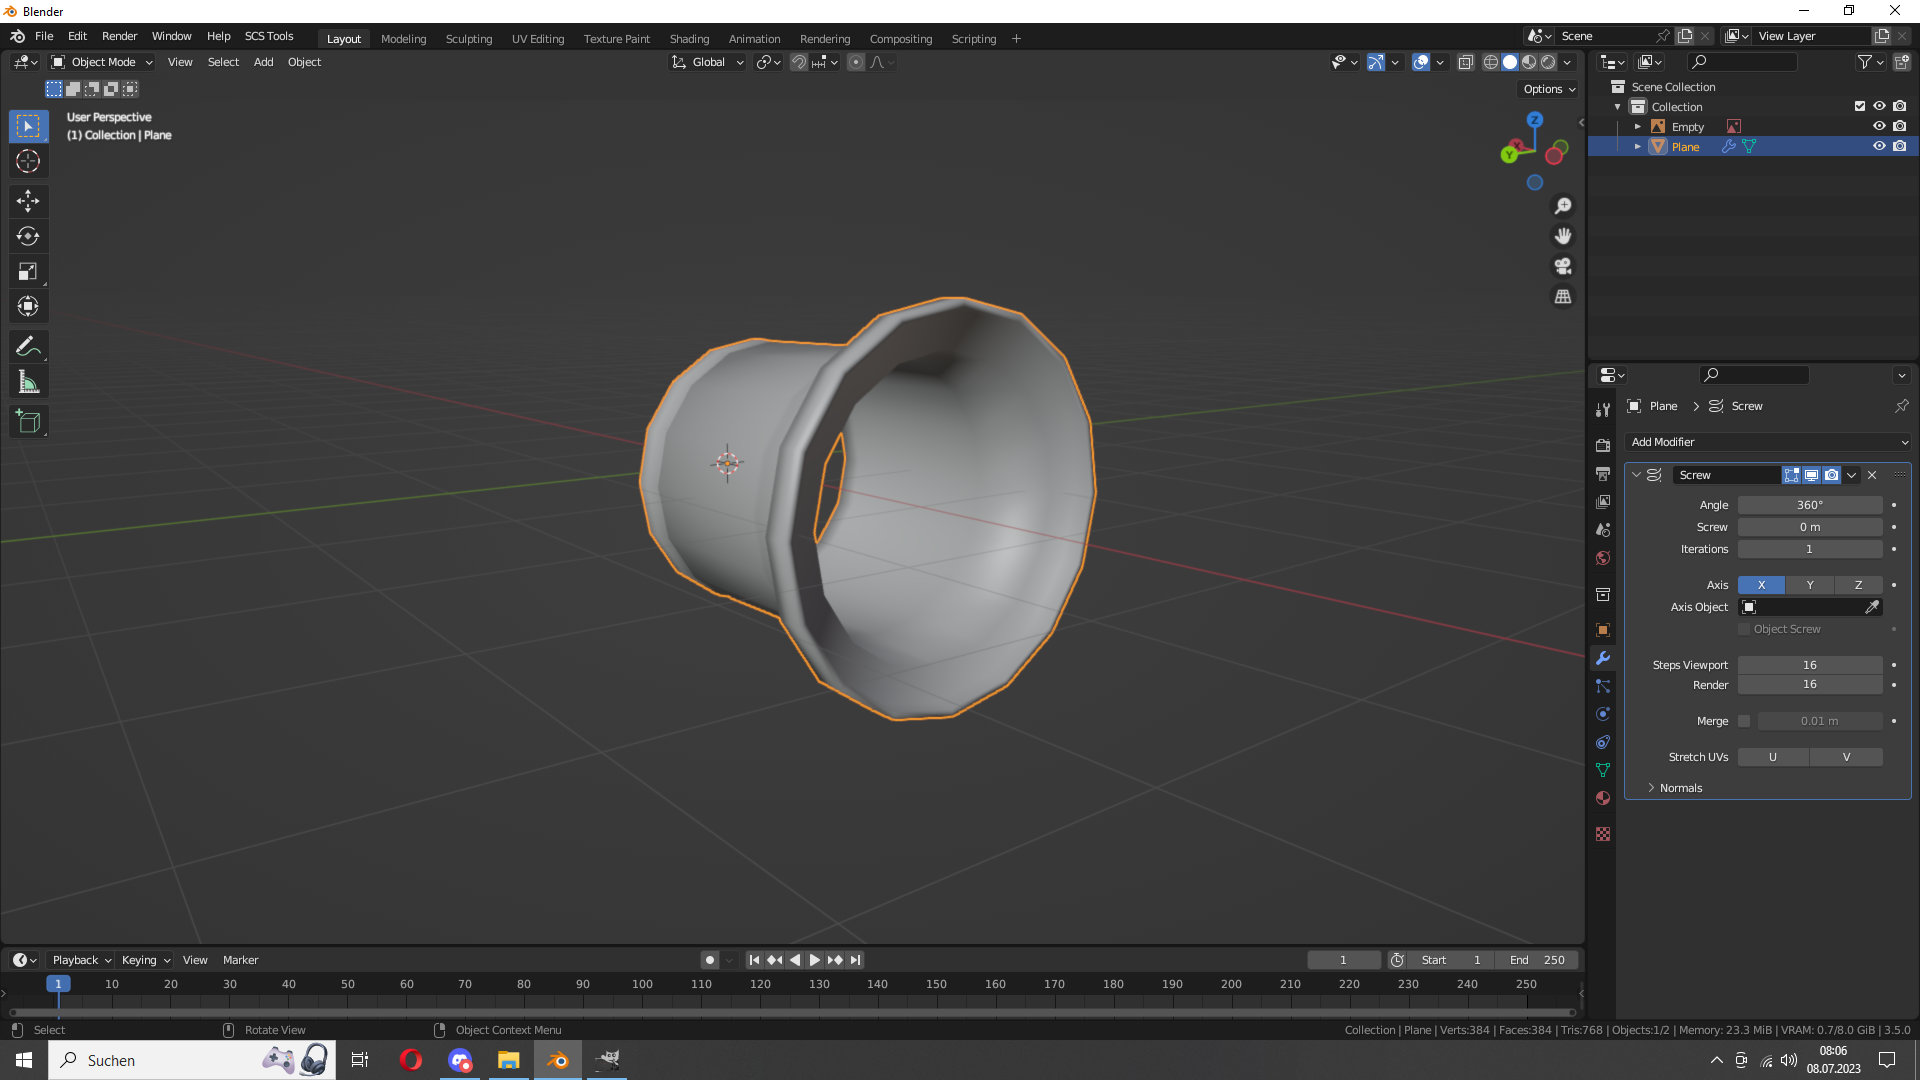
Change the Axis to x
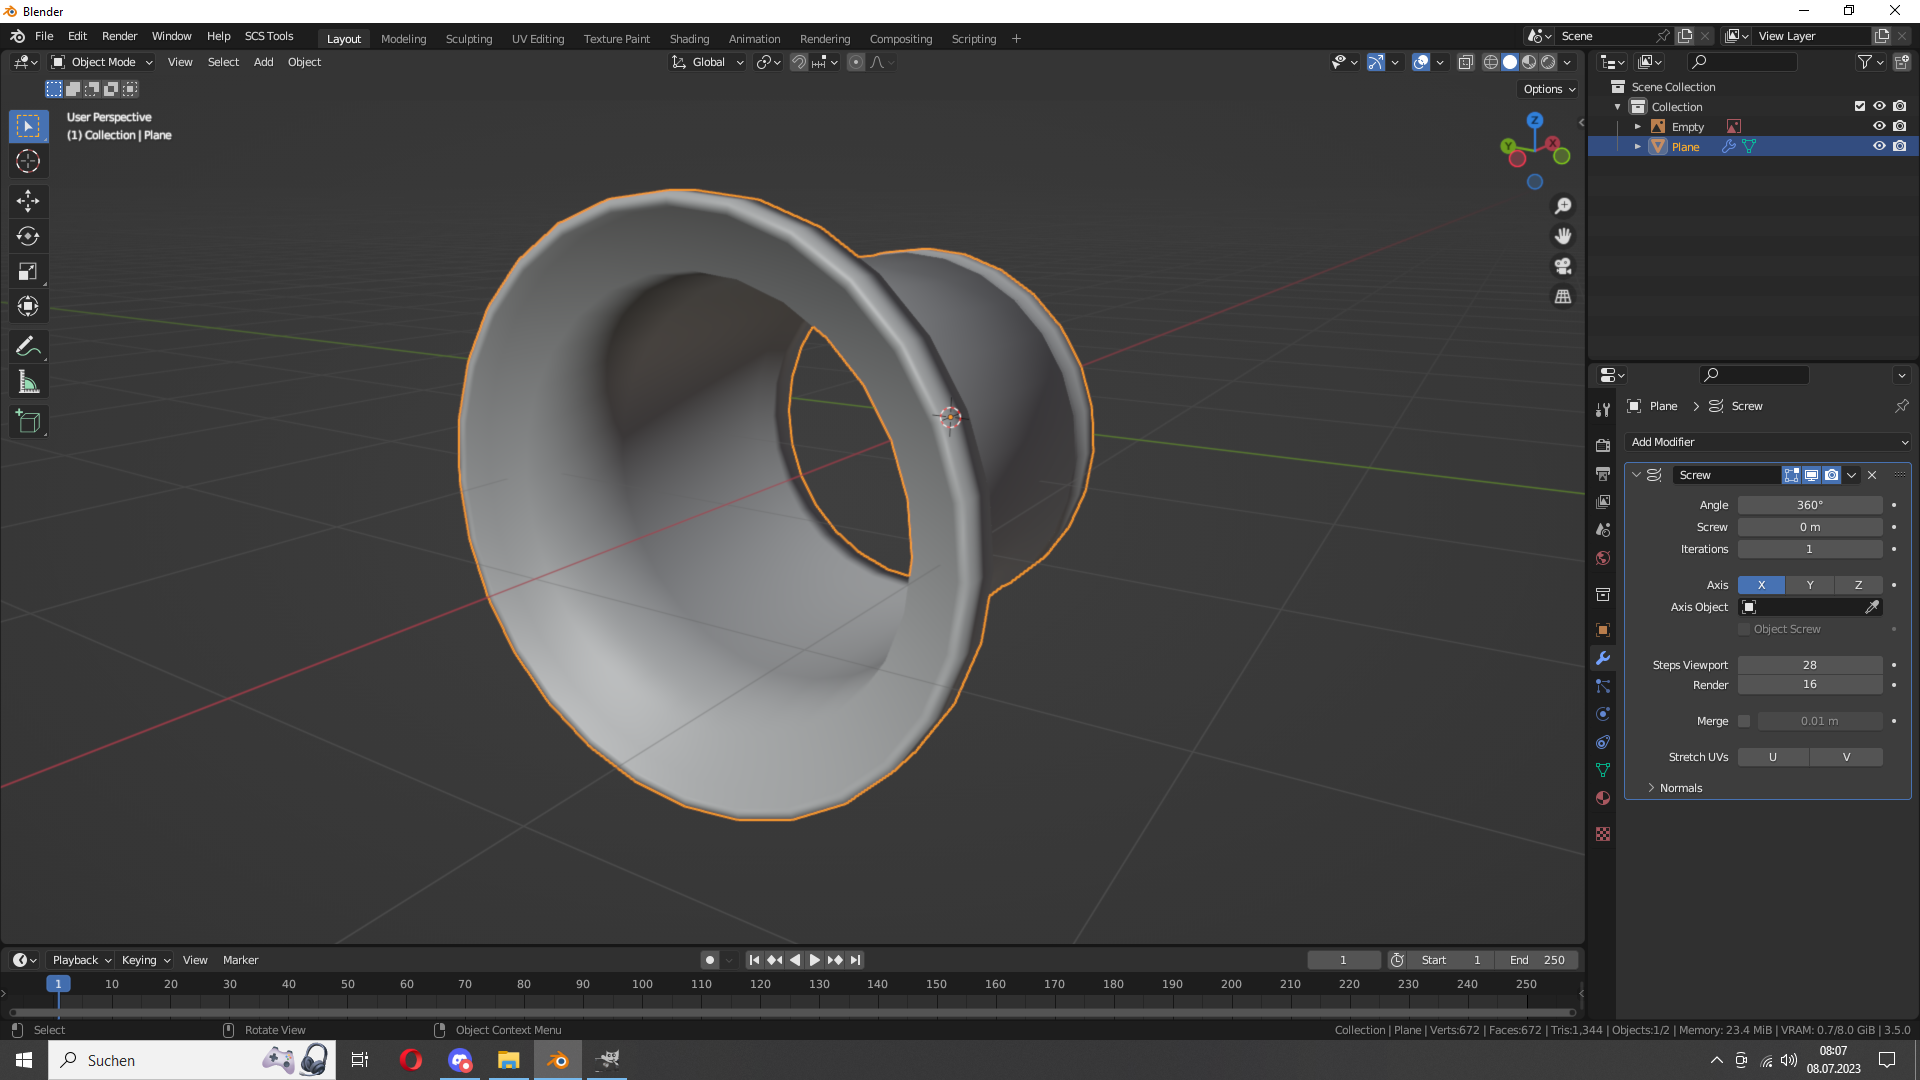
Set the Steps Viewport to 28
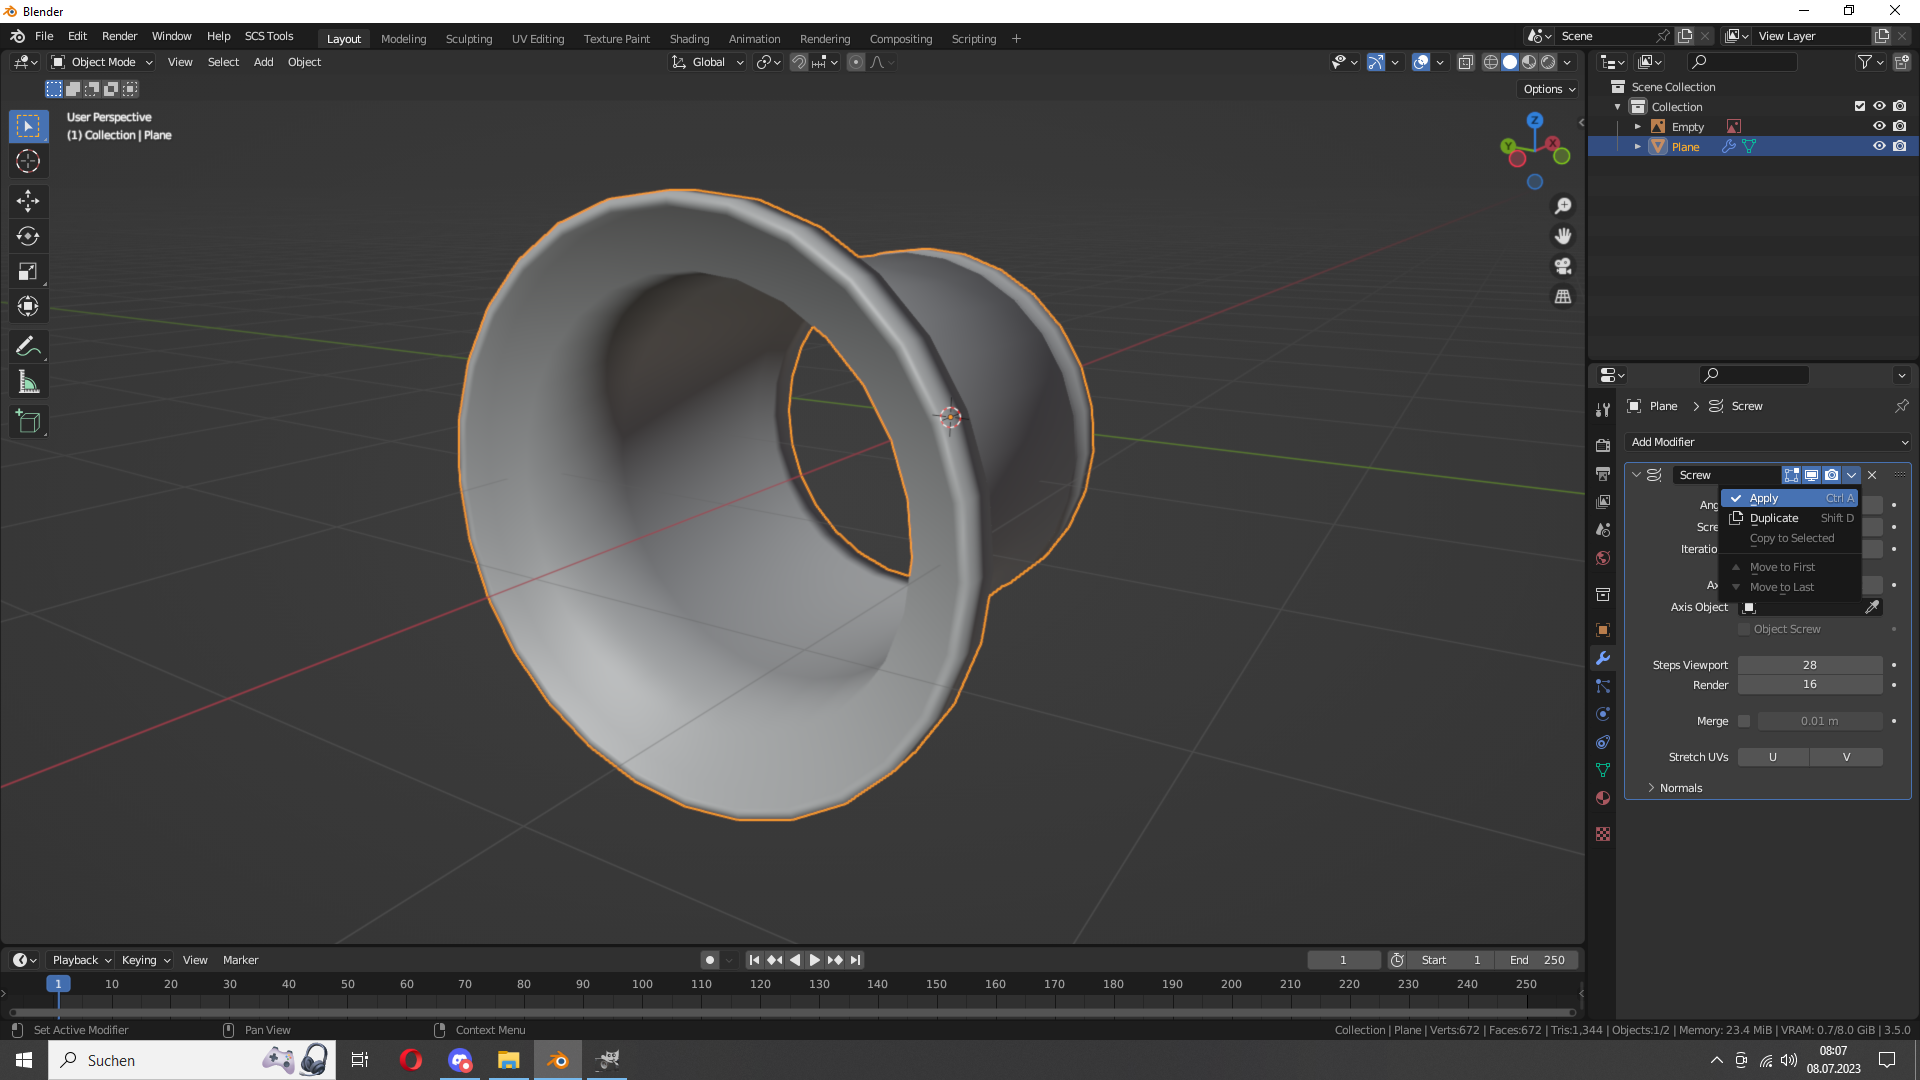
Apply that all
Now add the Weighted Normal modifier. Set the Weighting Mode to Face Area & Angle and select Keep Sharp
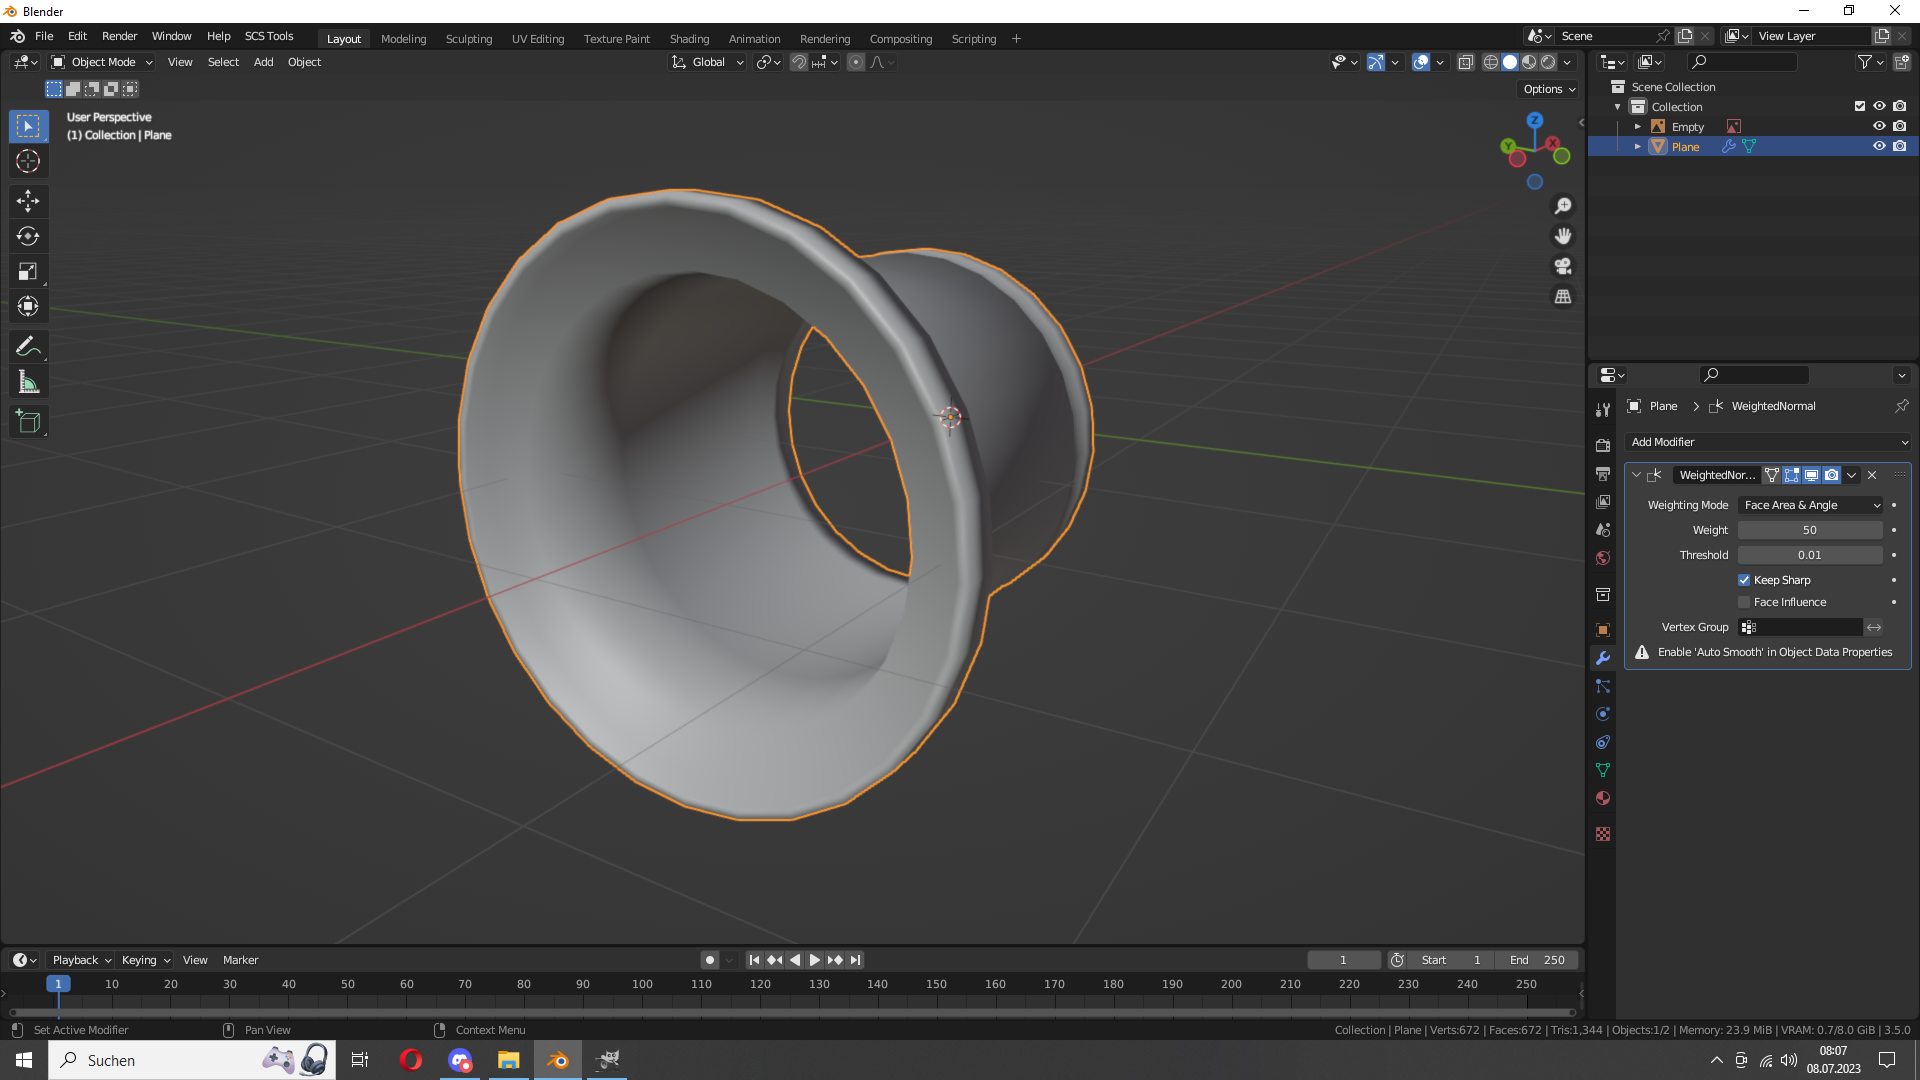
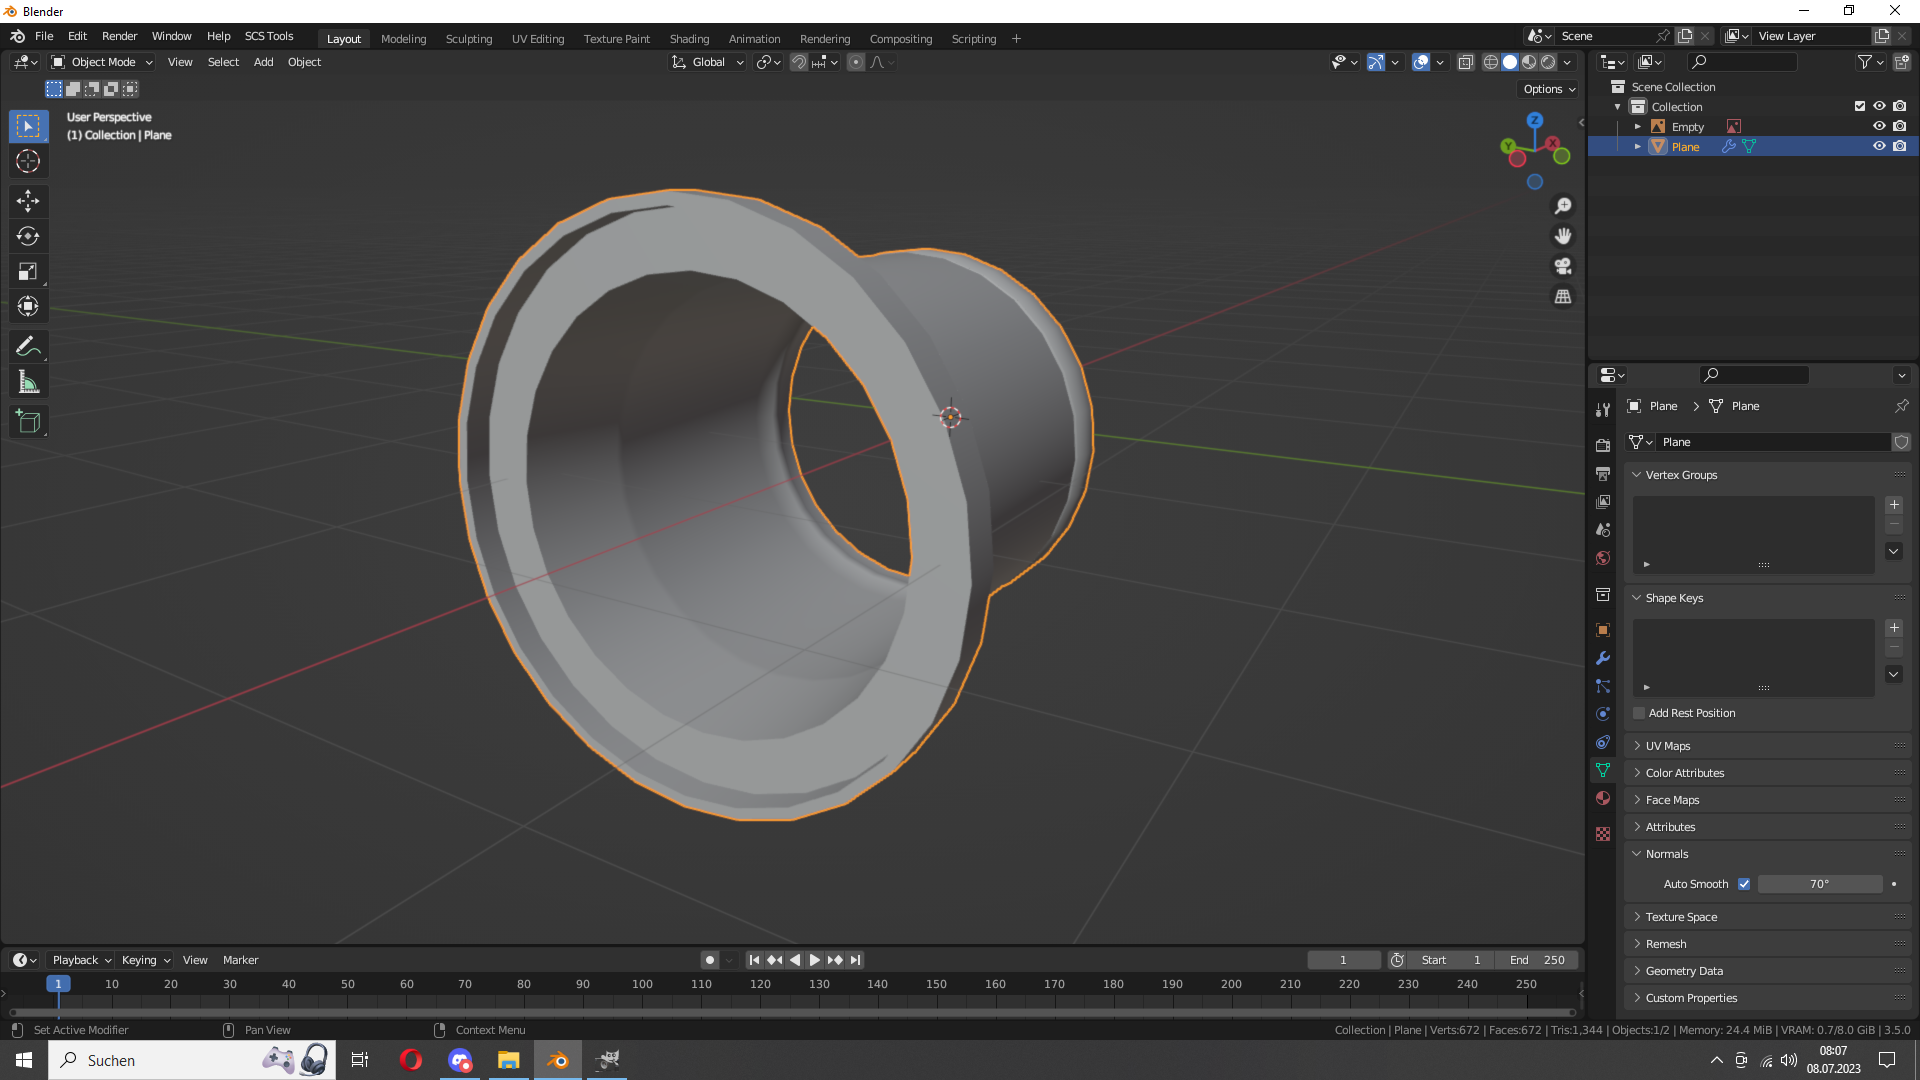
Now we have to enable Auto Smooth. Set it to 70°
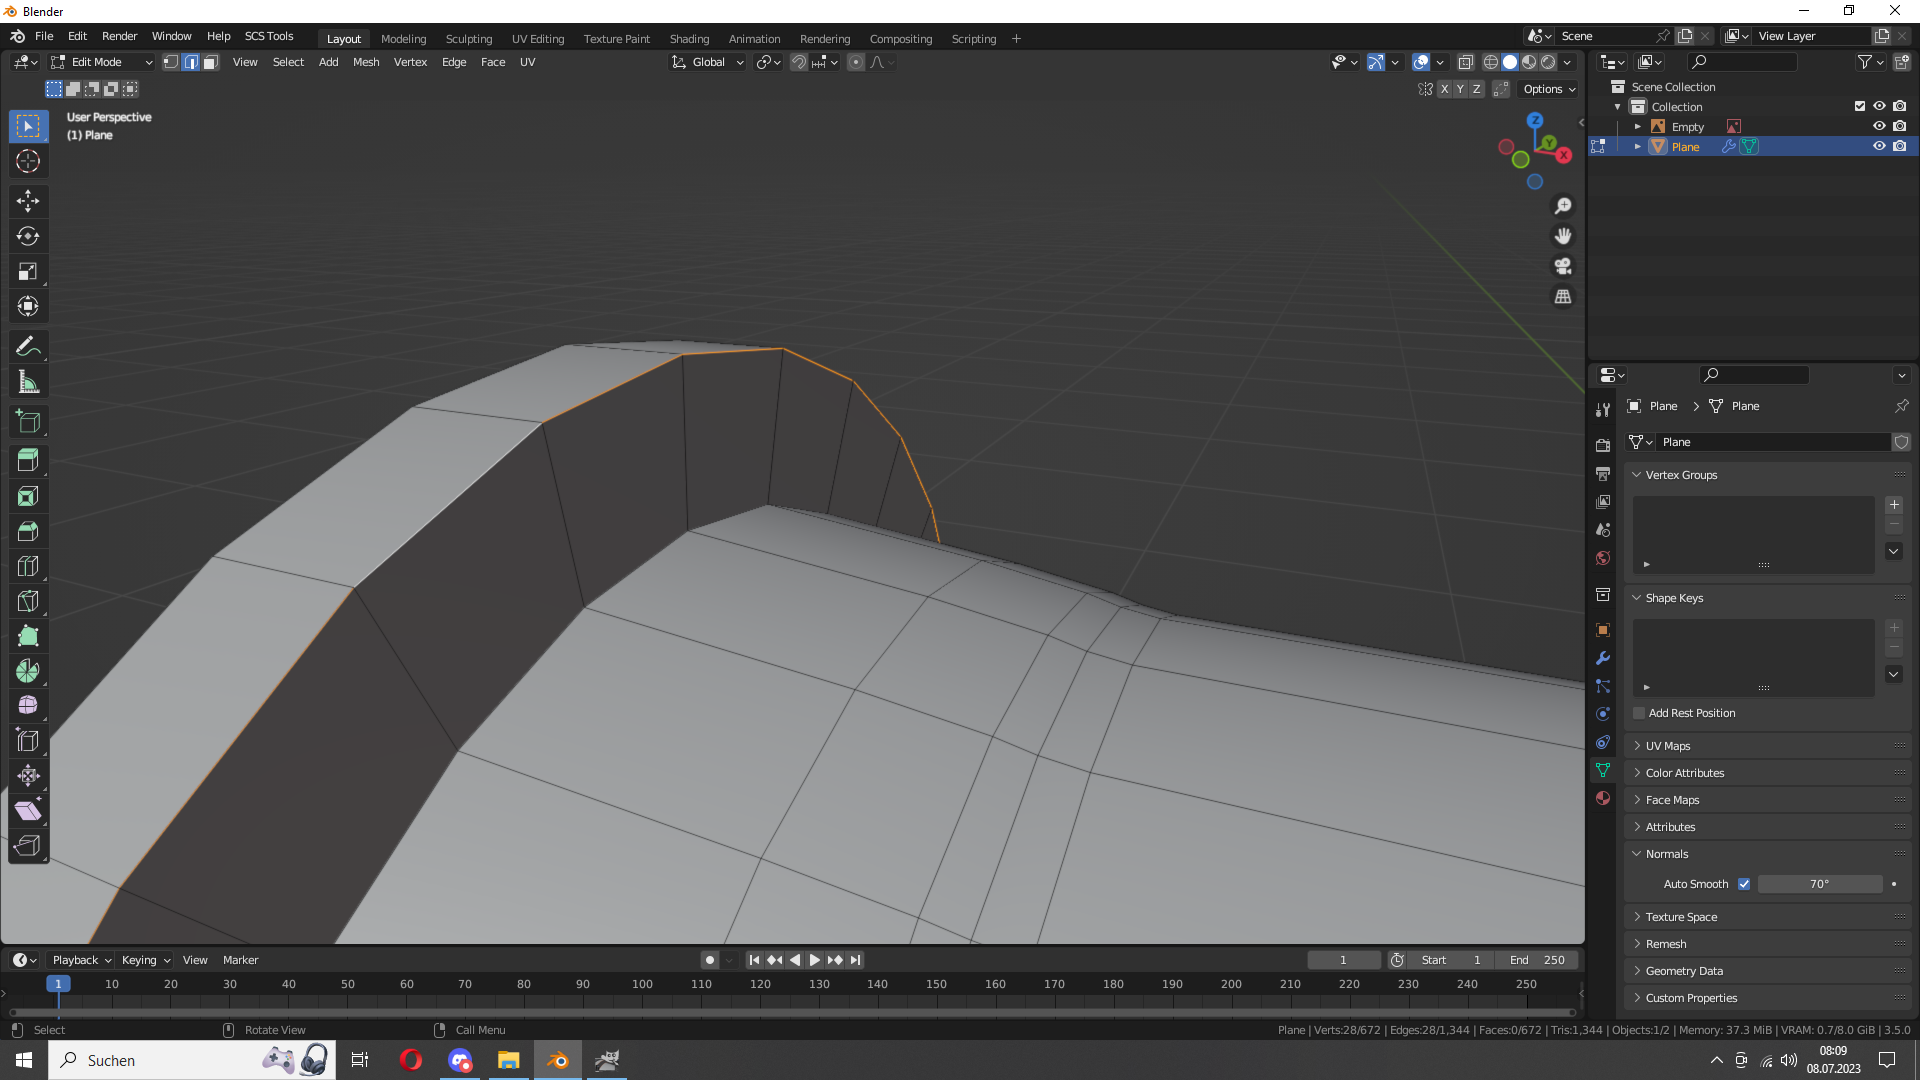
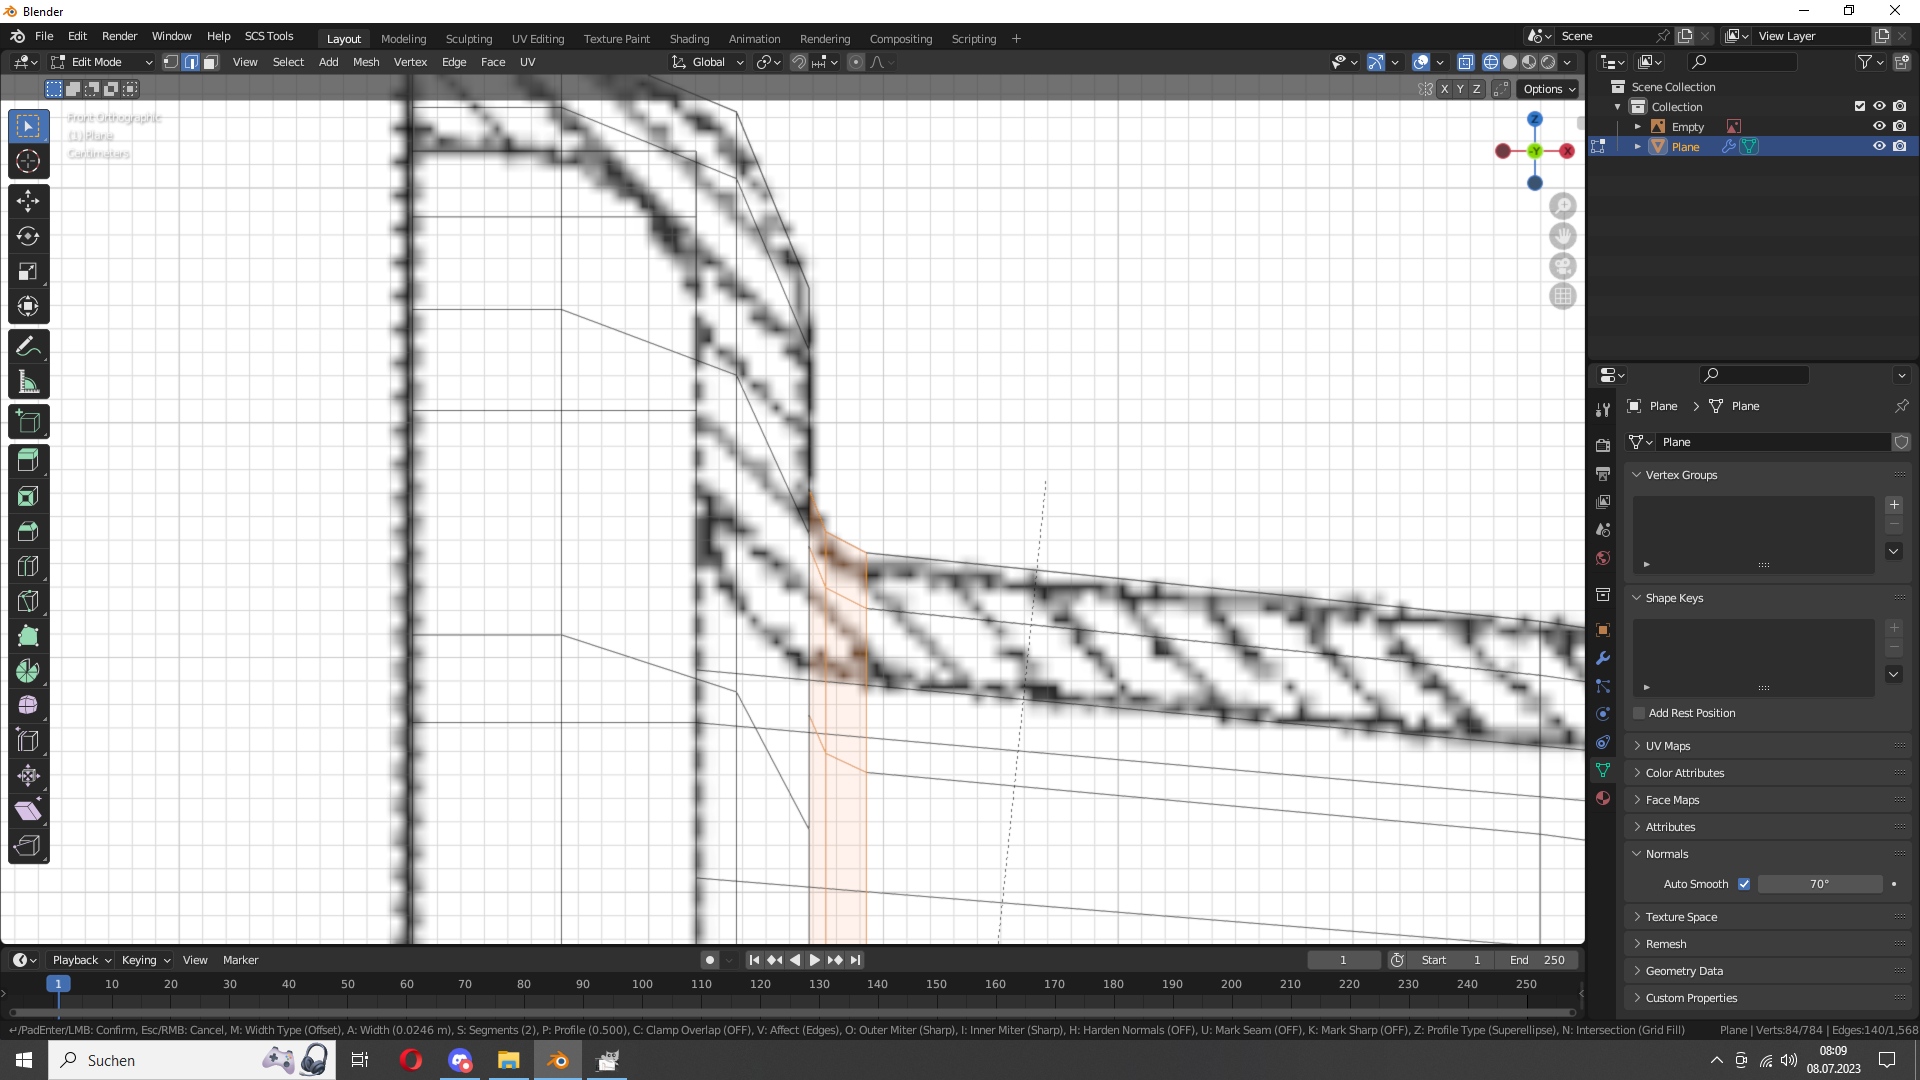
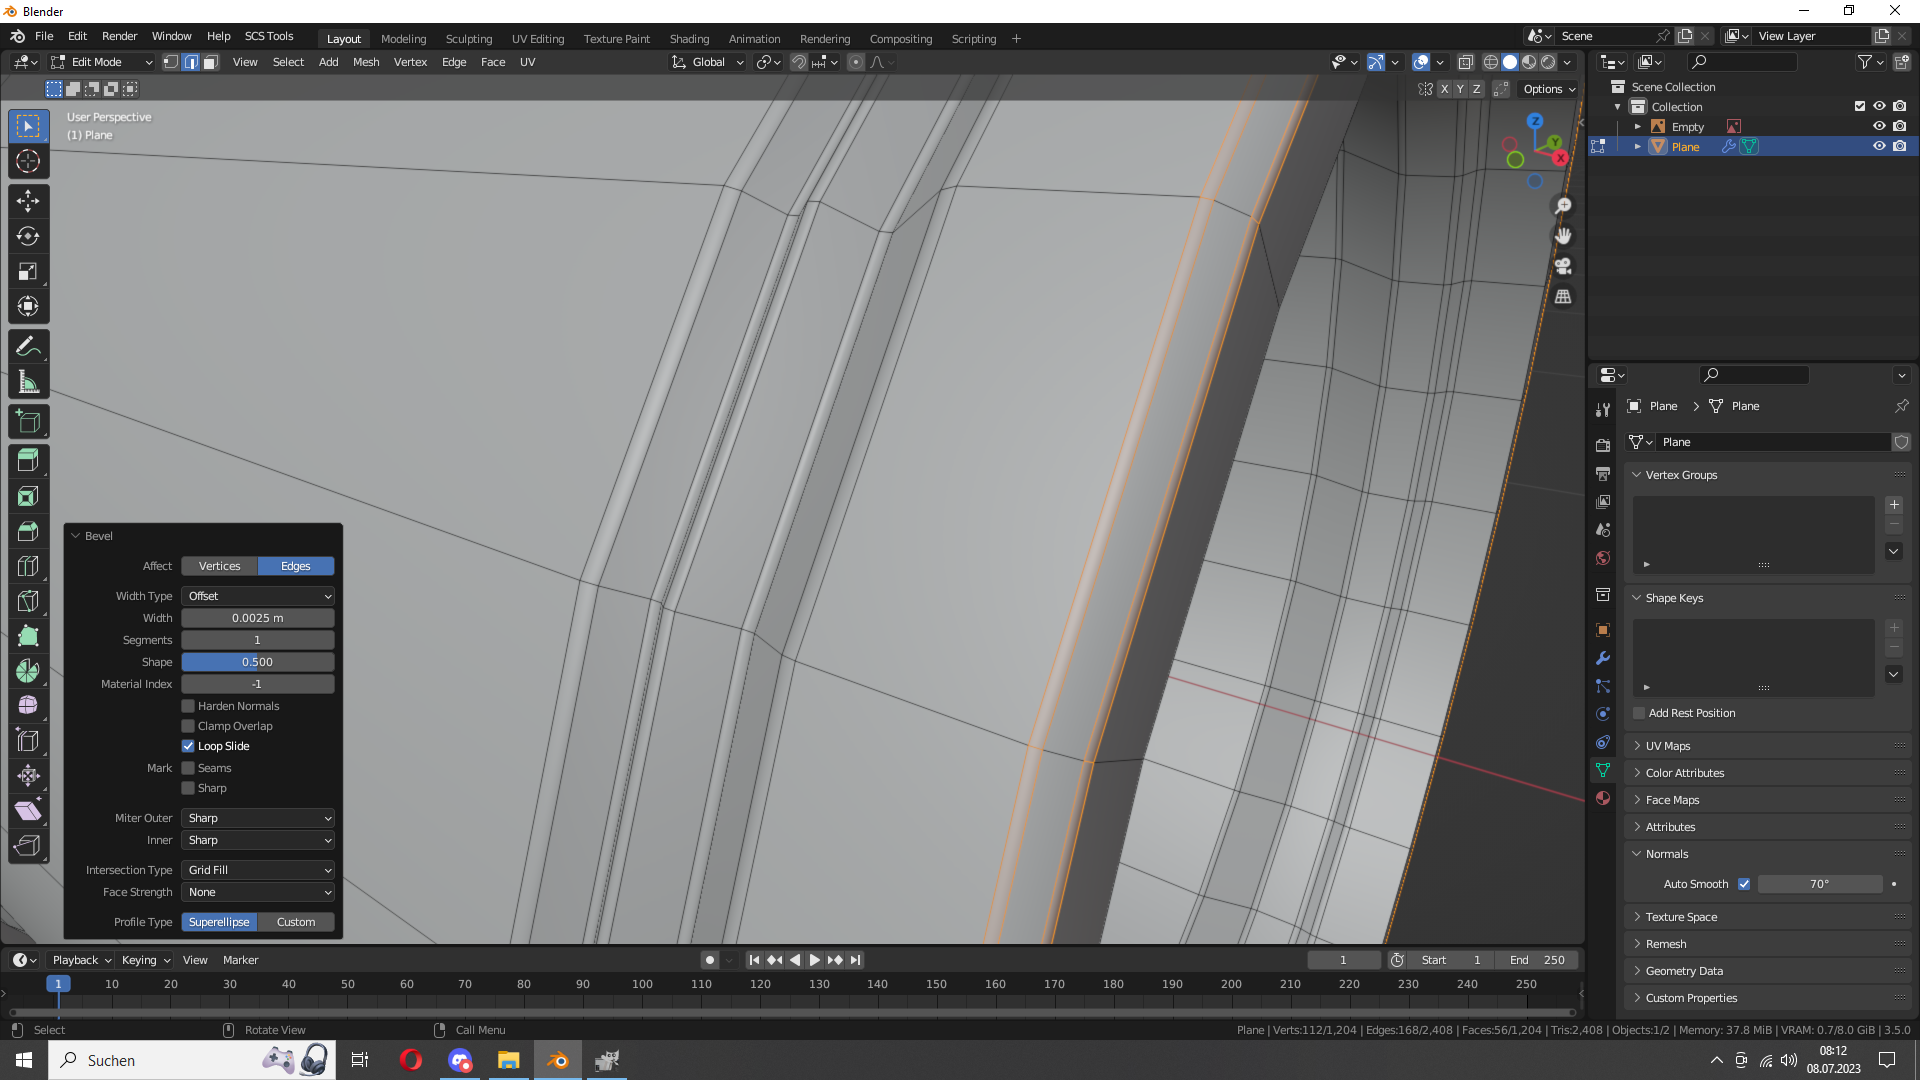
Almost done. Now we bevel the edges a bit. In Edit Mode go to Edge Selection. Click on one edge, hold shift alt and click on the edge next to that.
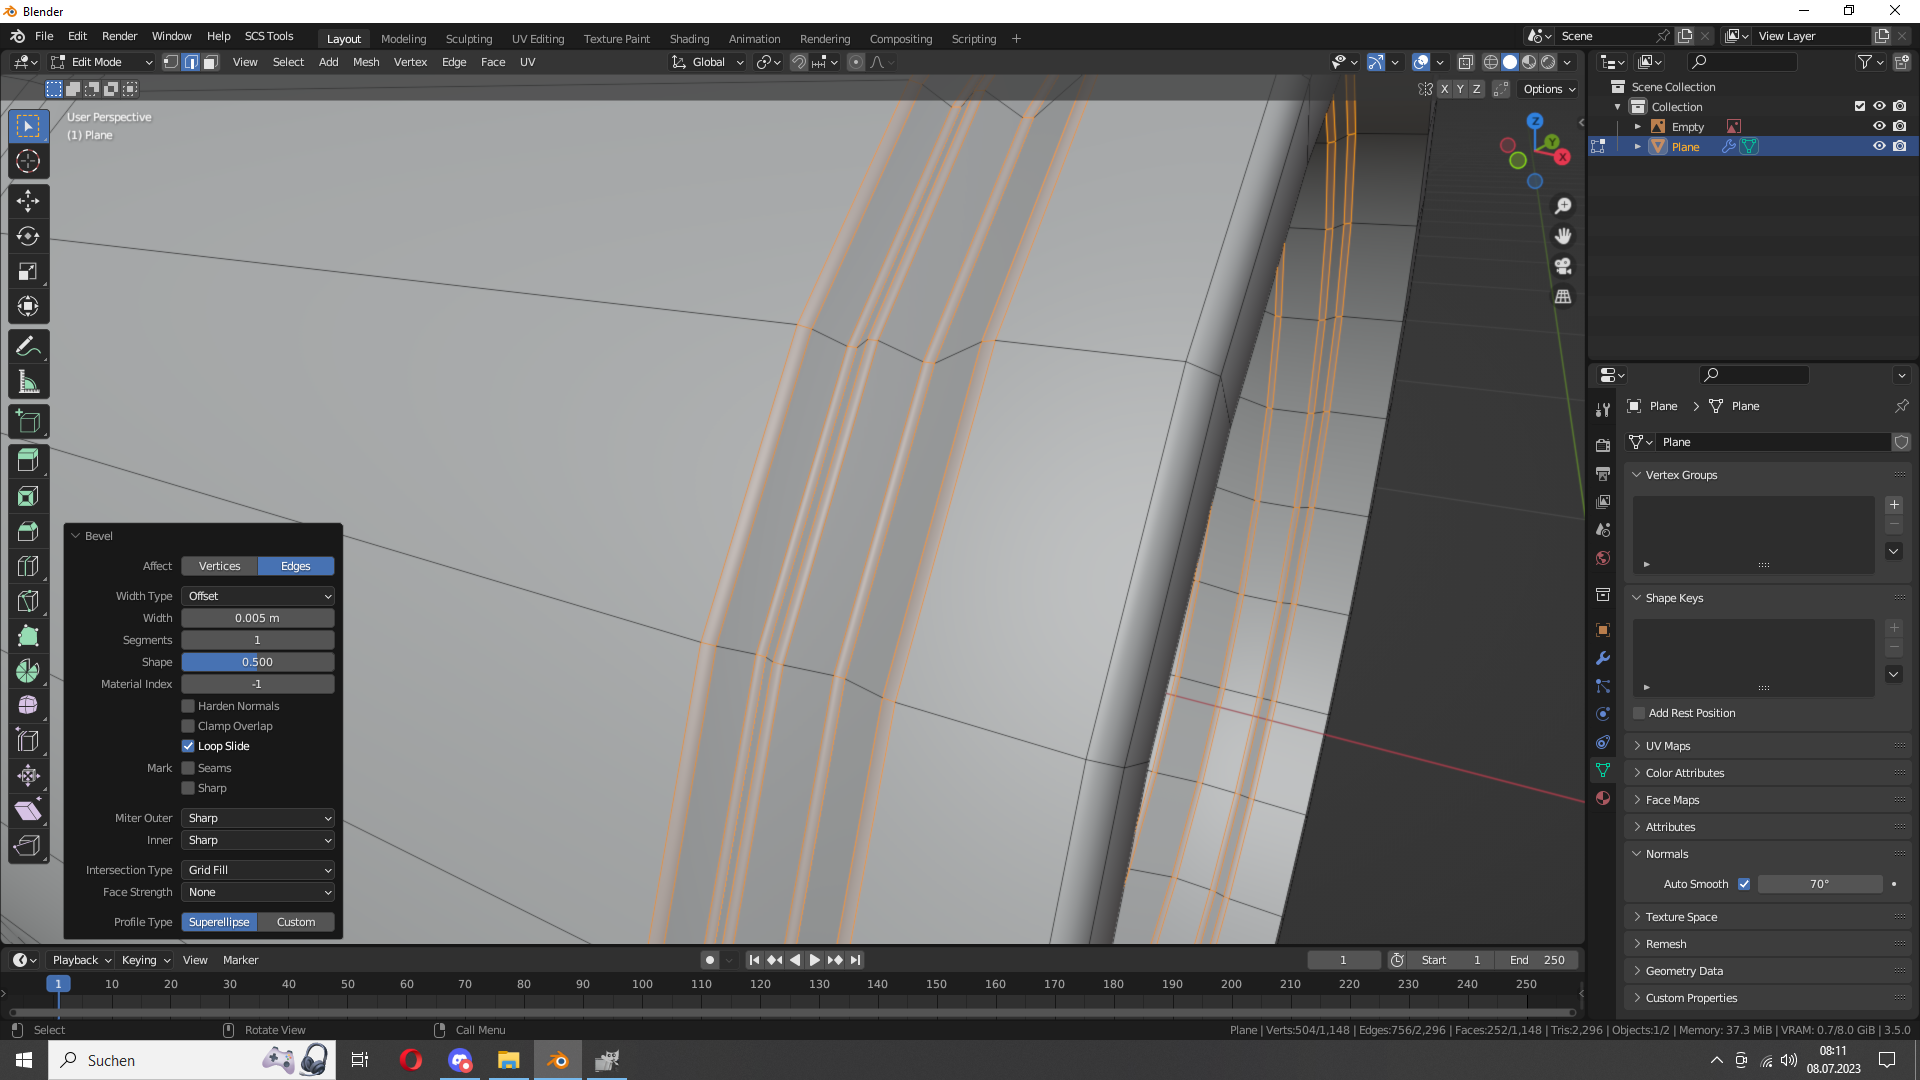
Now go to the front view, change the viewport shading (Look above the colored y x z axis there are a few balls). Now press Ctrl b and move the mouse cursor
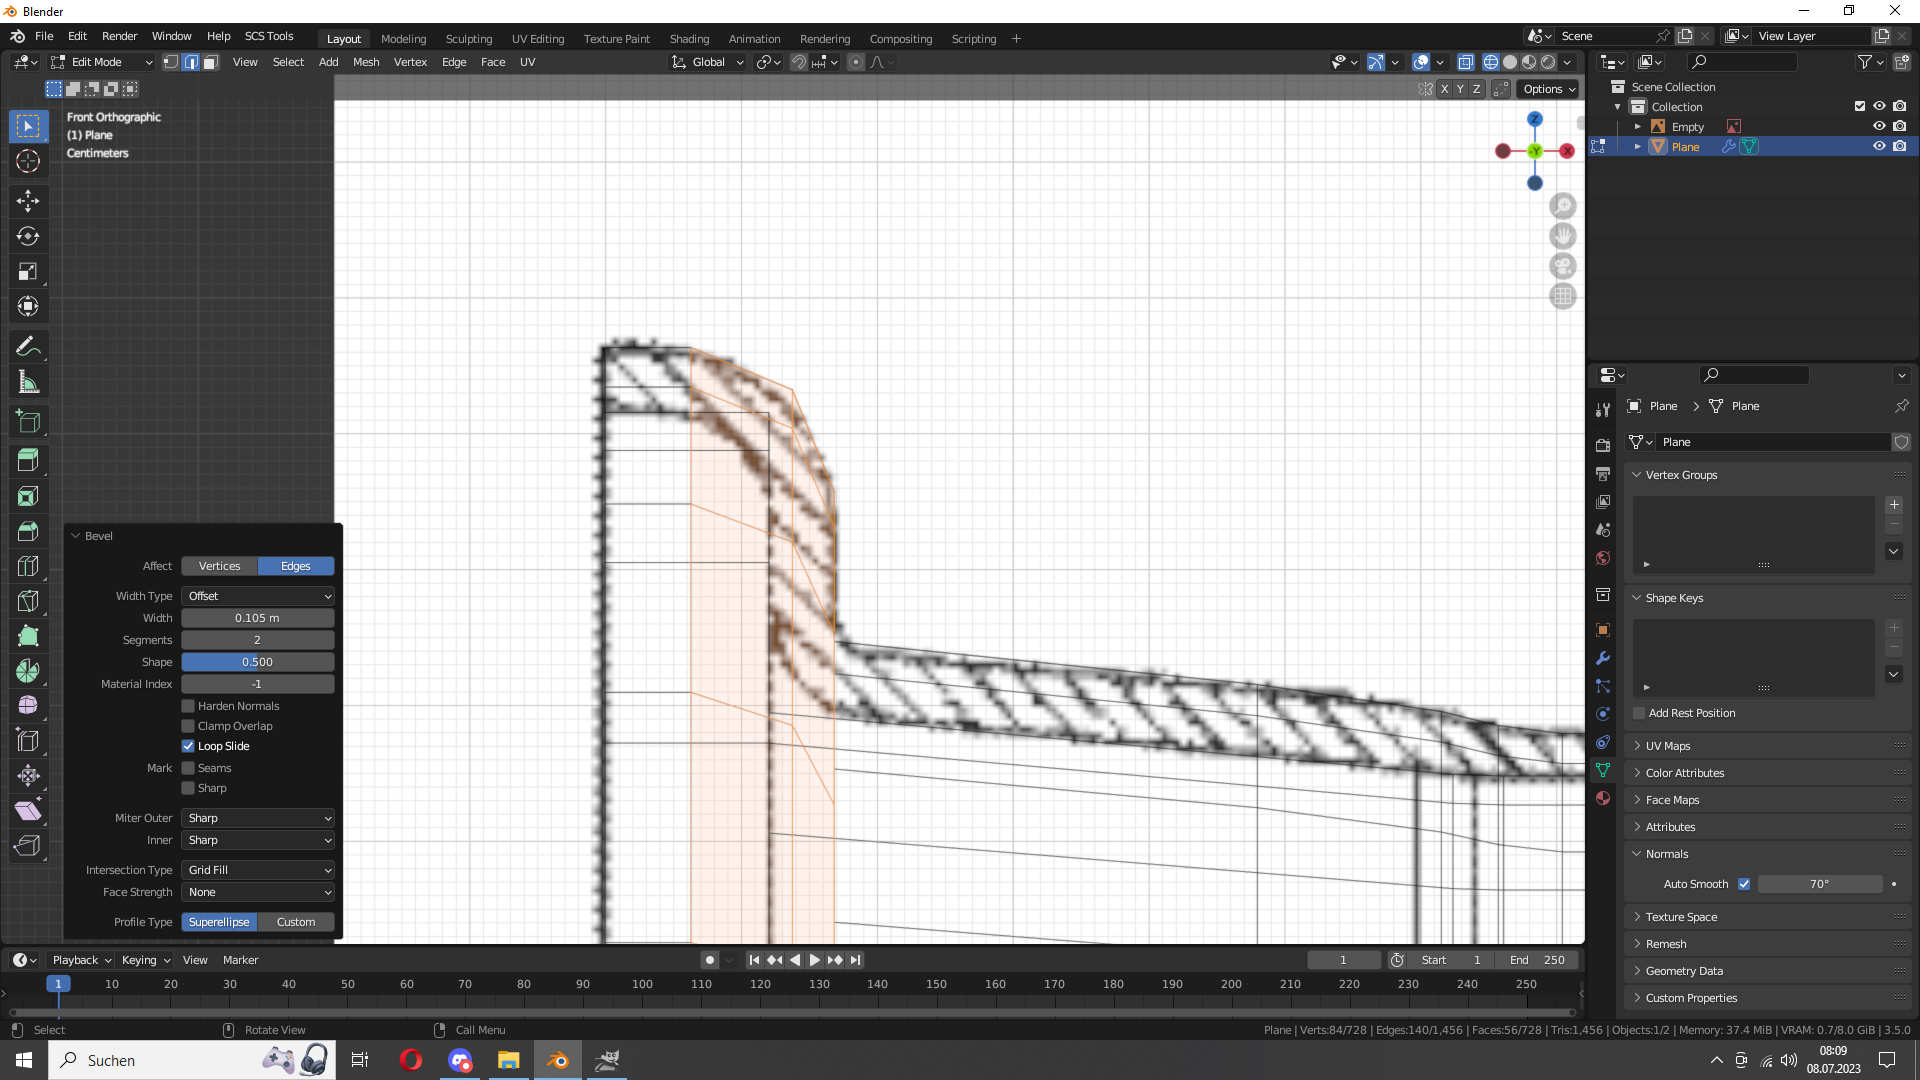
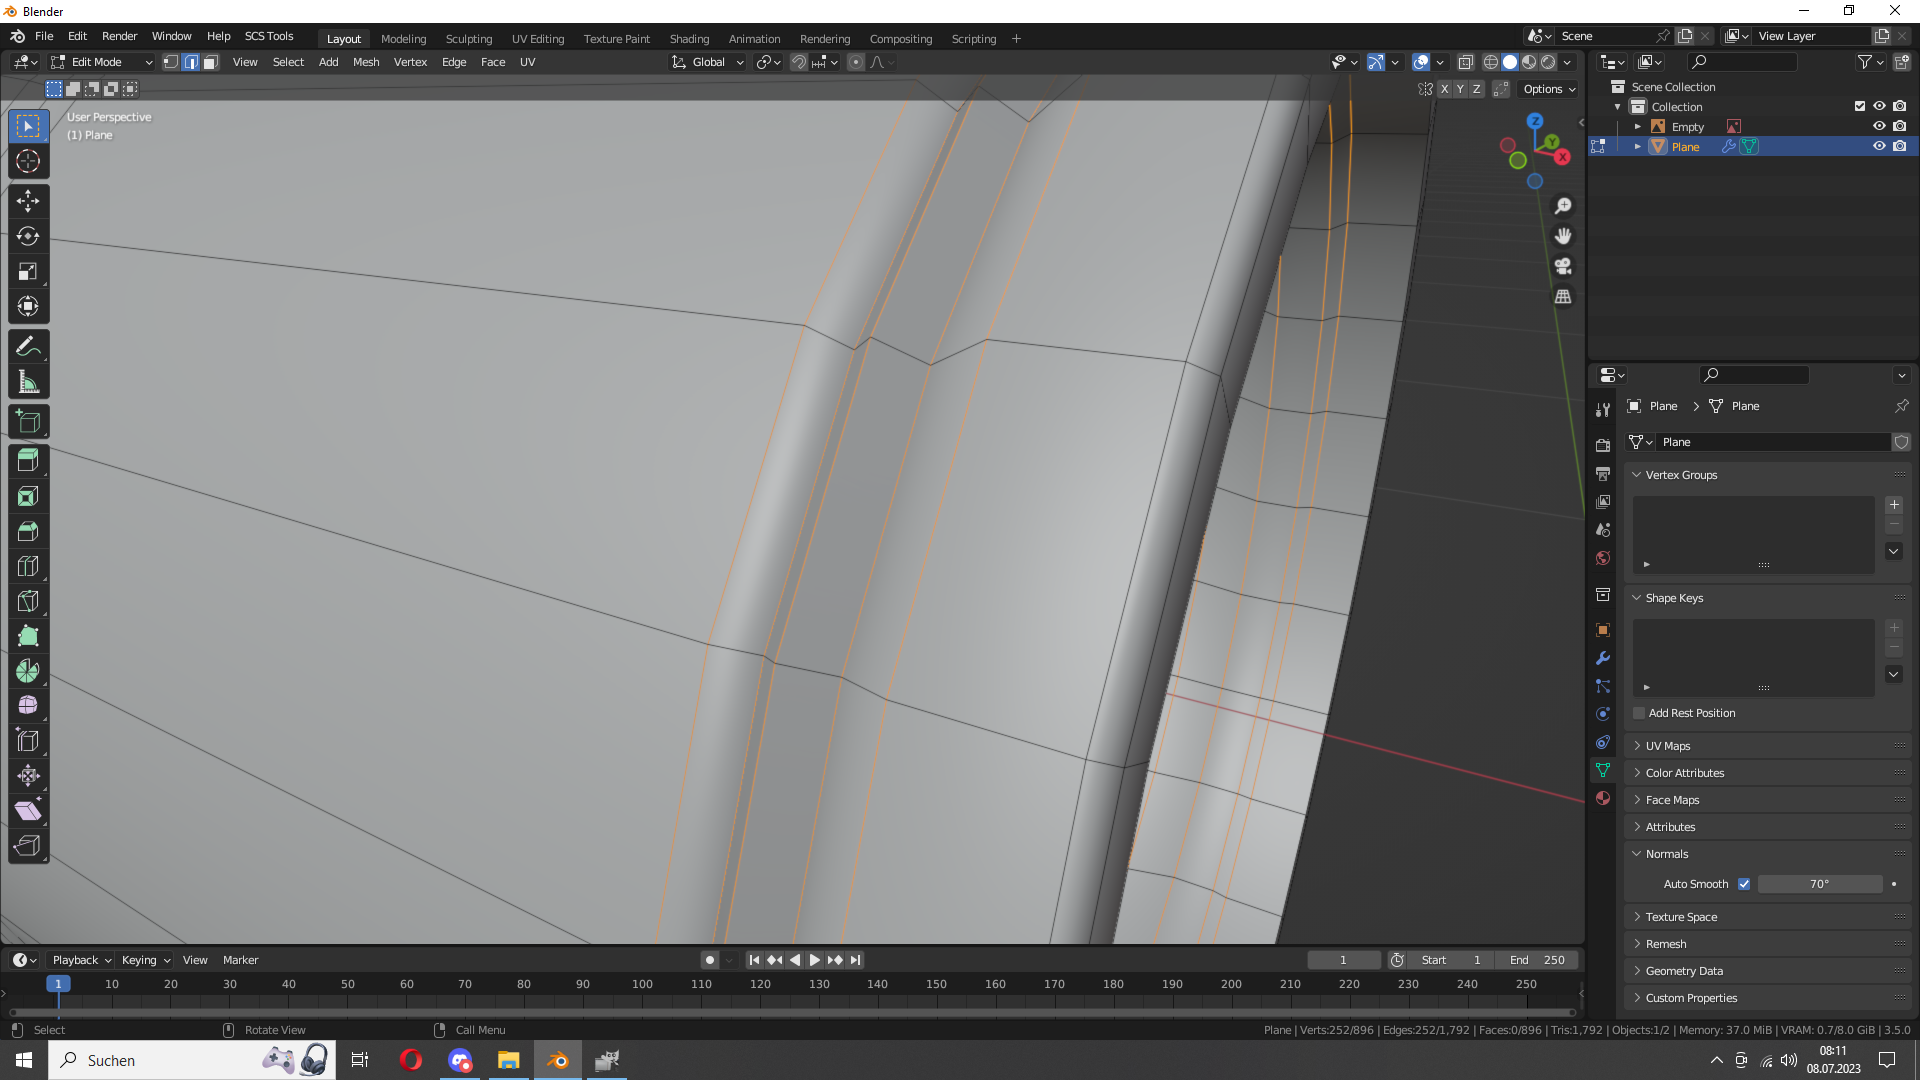
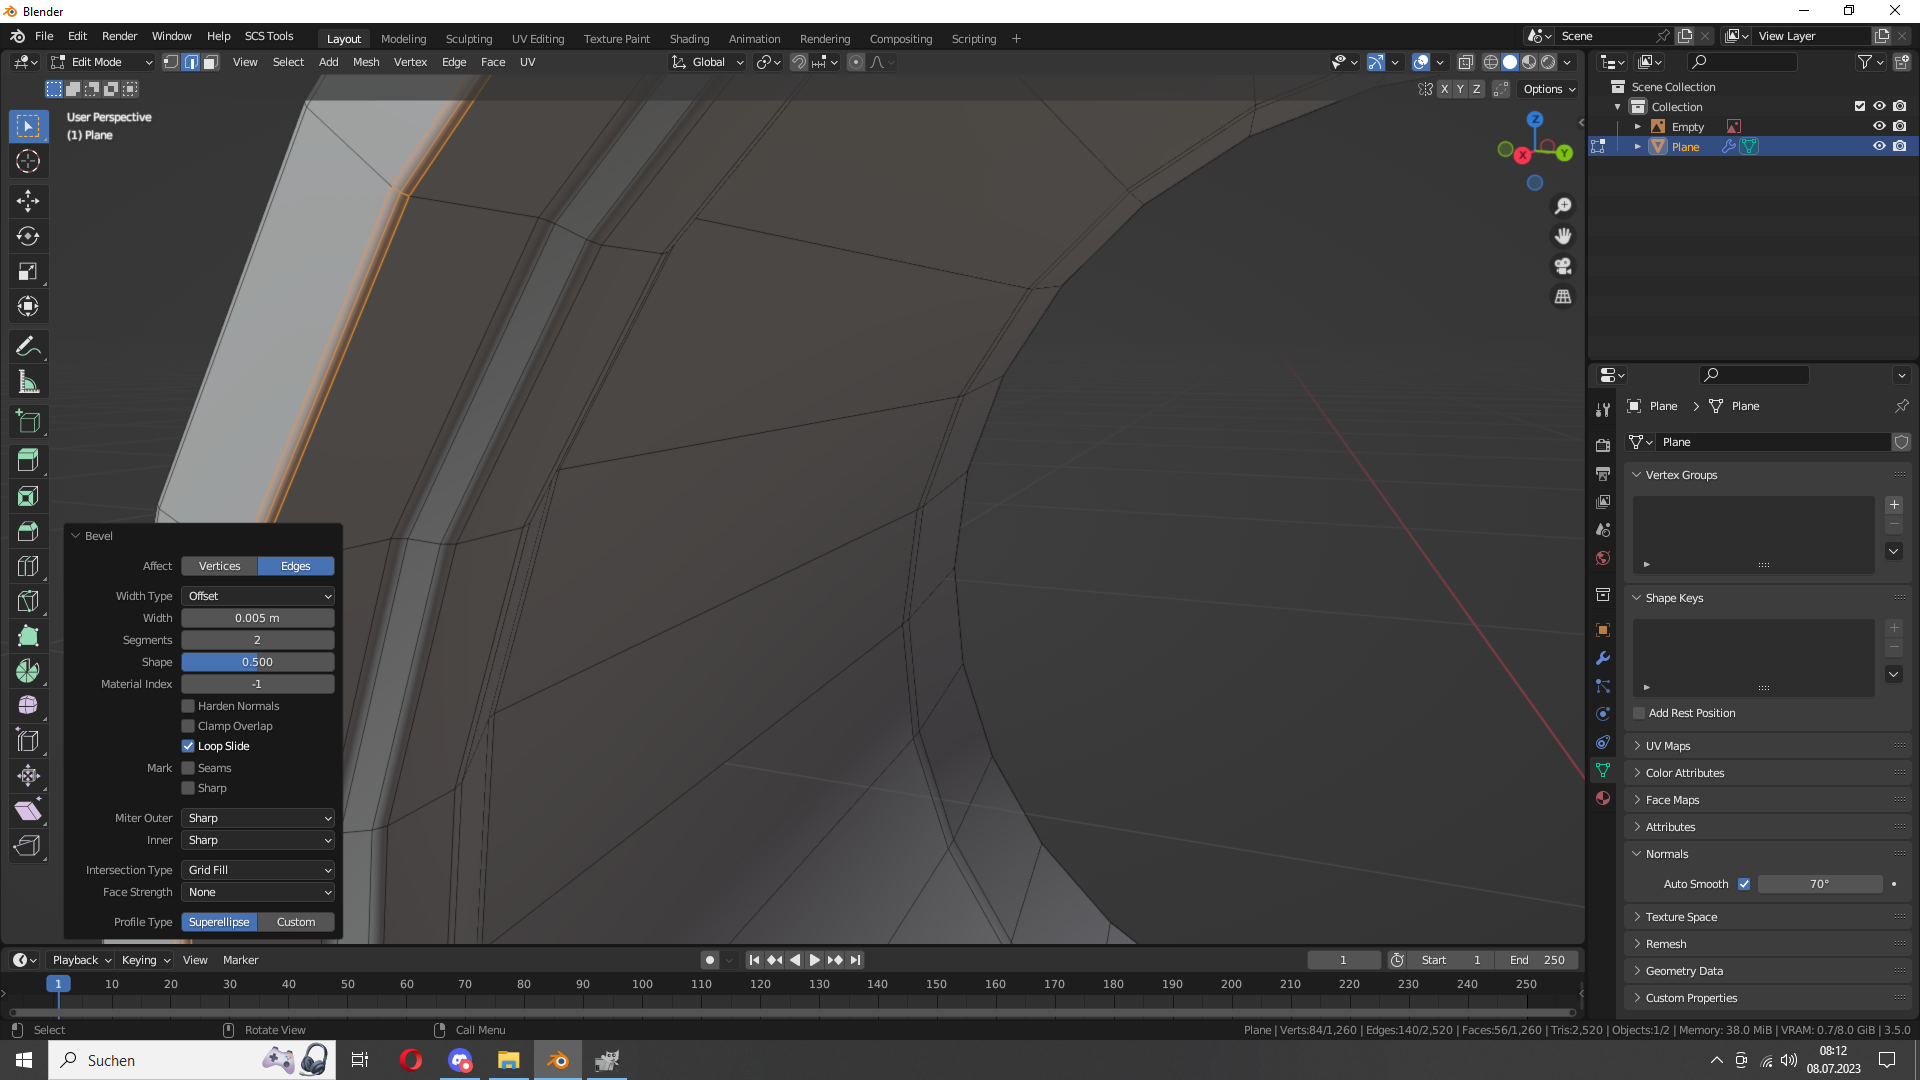
Looks good. Now continue with the other edges.
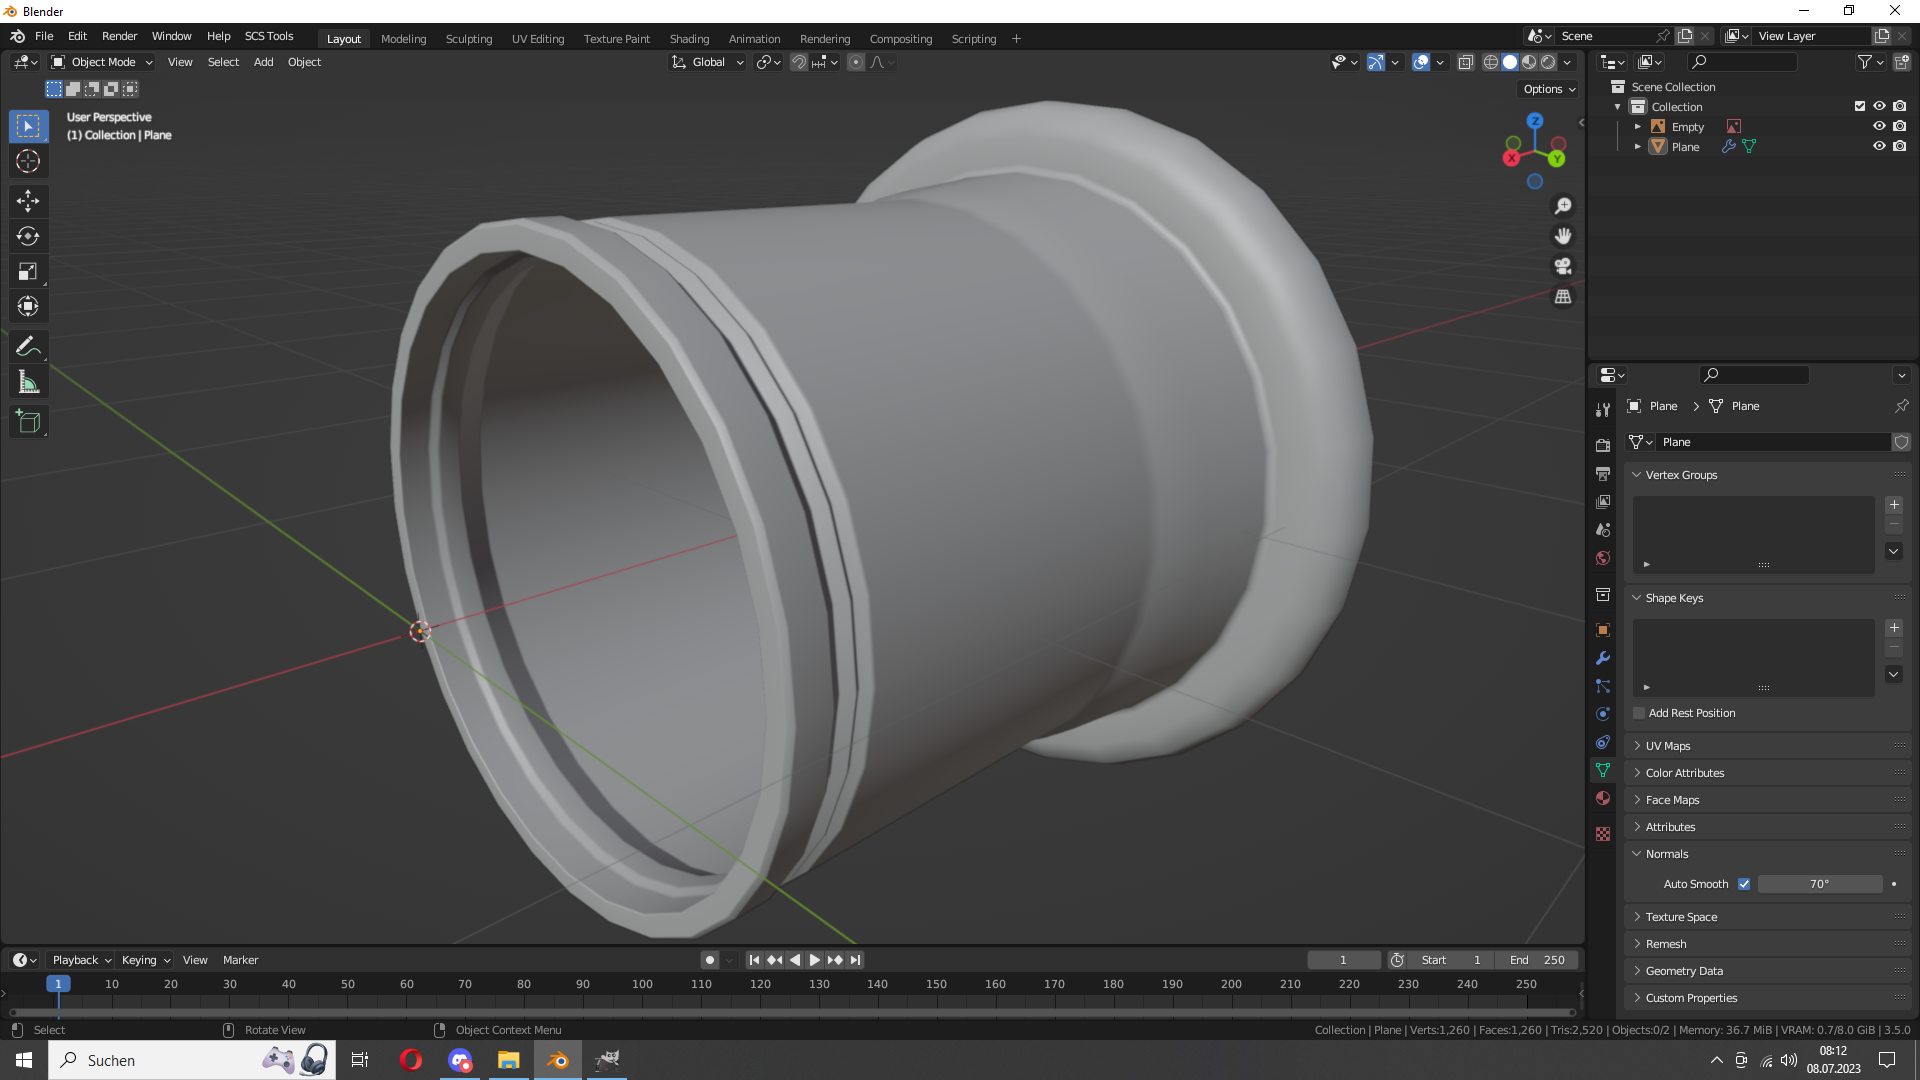
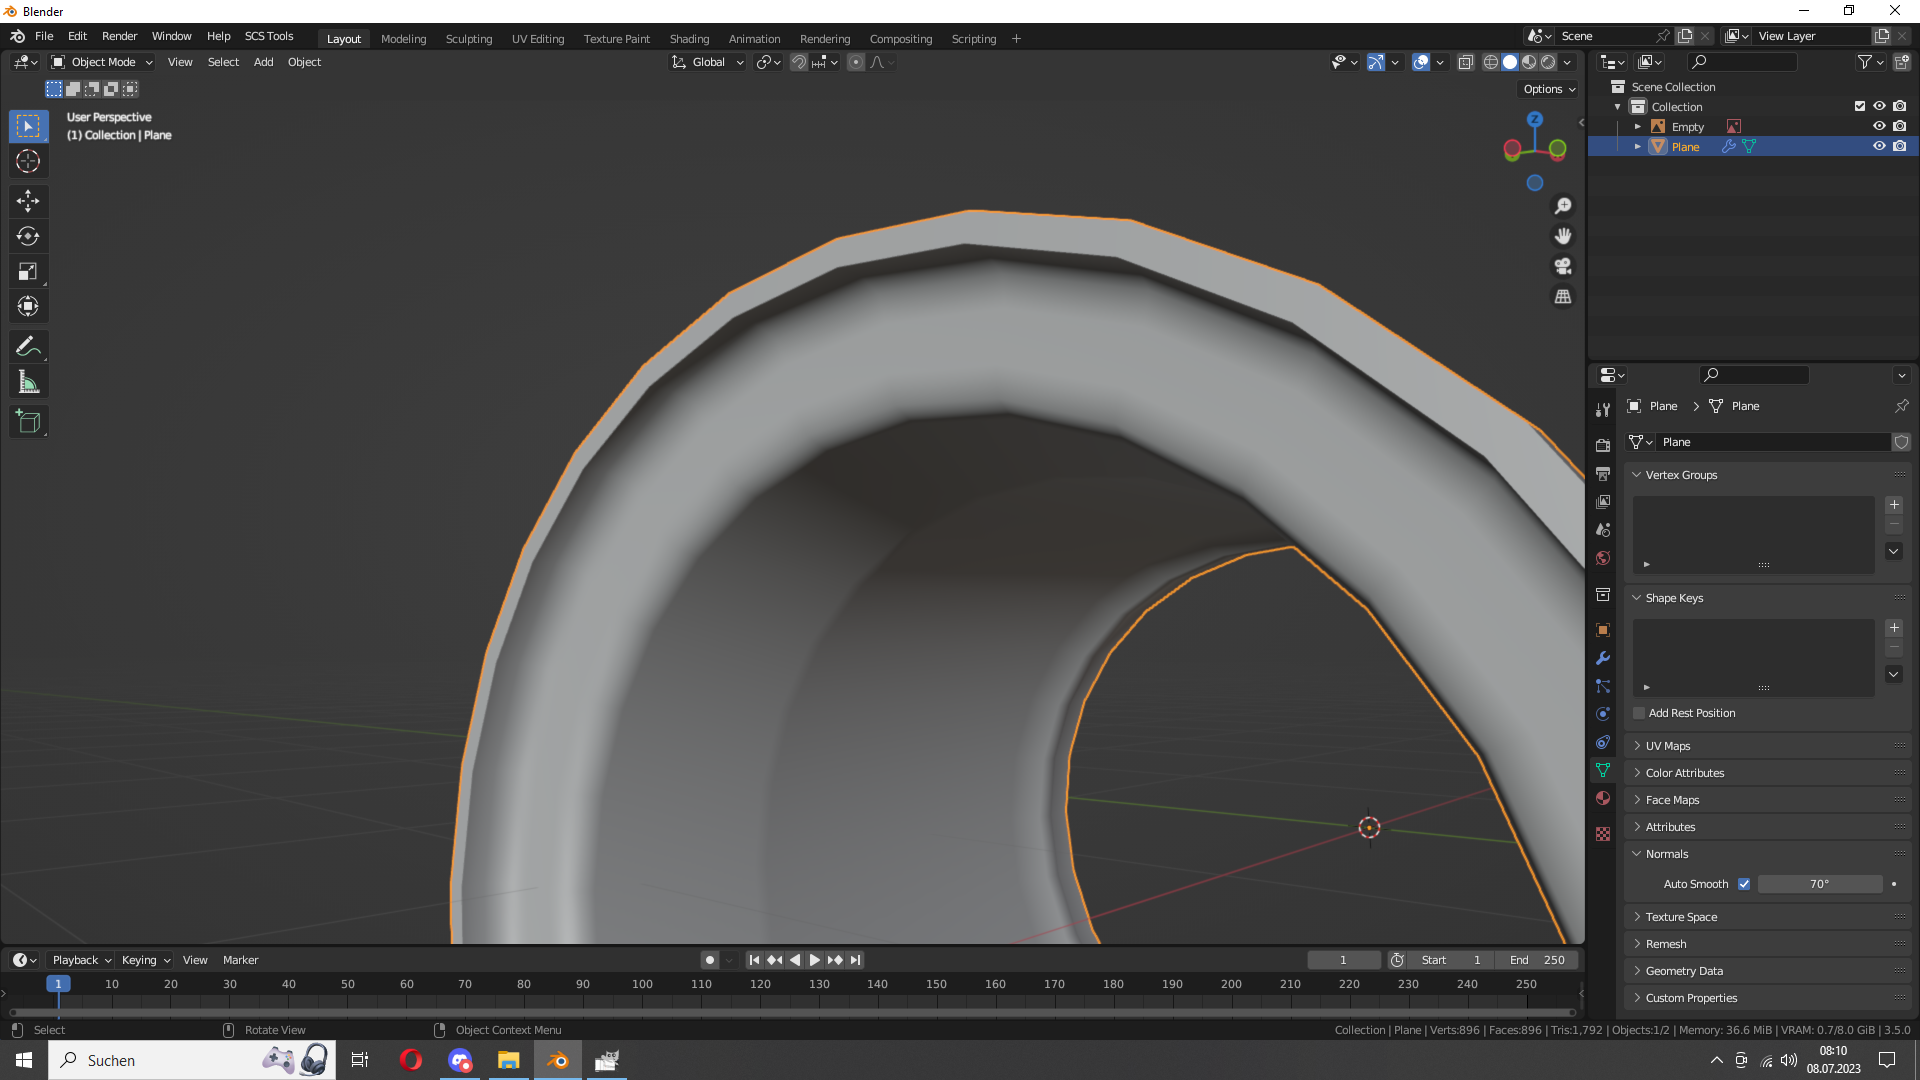
It will now look like this.
Let's do that with the other edges (Don't forget to select the inner edges too)
And you're done!