
You can get it here: https://www.mediafire.com/file_premium/ ... l.rar/file

Open the tutorial.blend file and set the correct base path
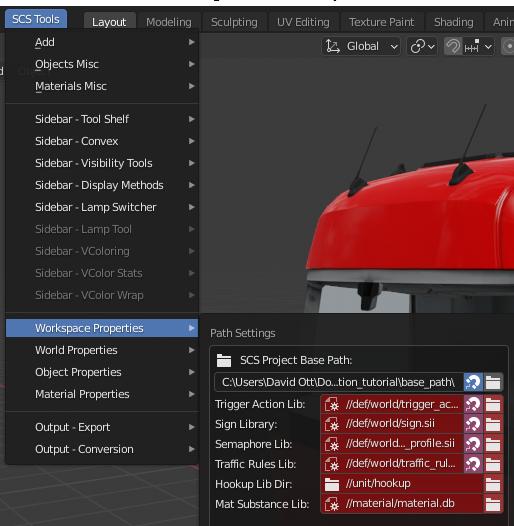
If anything looks weird, reload all scs materials:
SCS Tools > Materials Misc > Reload SCS Materials
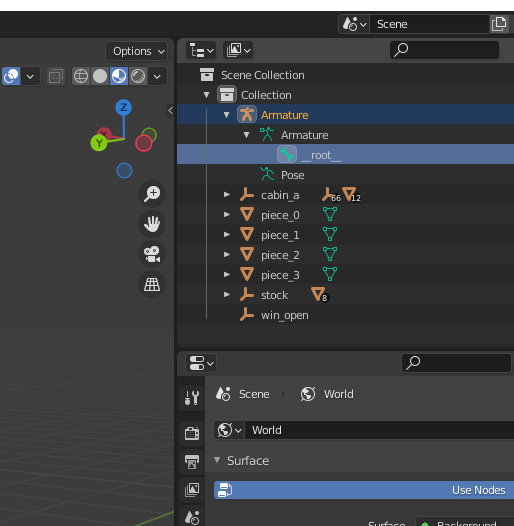
Let's create the root locator by pressing shift a and change the type to animted model
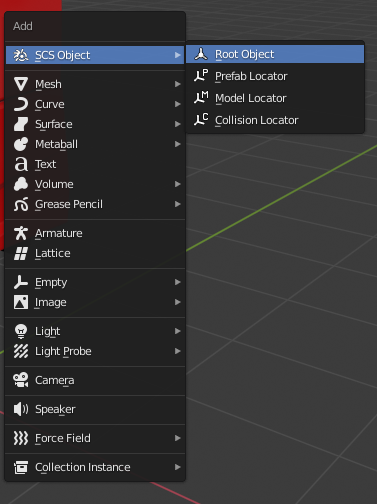
double click on the new created name “game-object“ and rename it to win_open
now press again shift a and select Armature
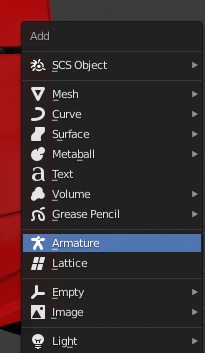
Now you see in the center of the x and y axis a new object: that's the bone
Select the bone, go to edit mode, click on the top of the bone and move it a bit down.
Now we rename this bone to “__root__“
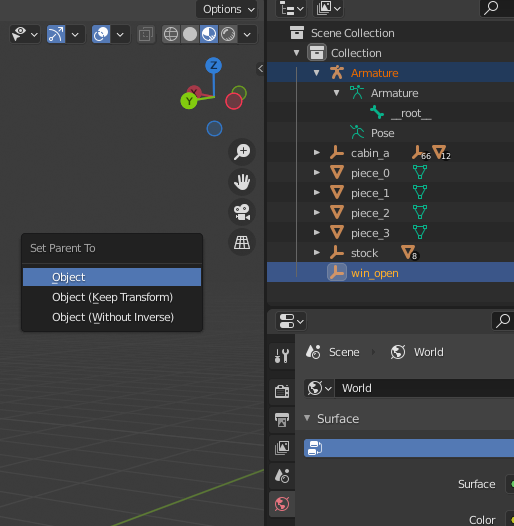
The next step is to move the Armature into the win_open root.
Click on the name “Armature“ now press Ctrl and click on win_open.
Now press Ctrl p and select Set Parent To > Object
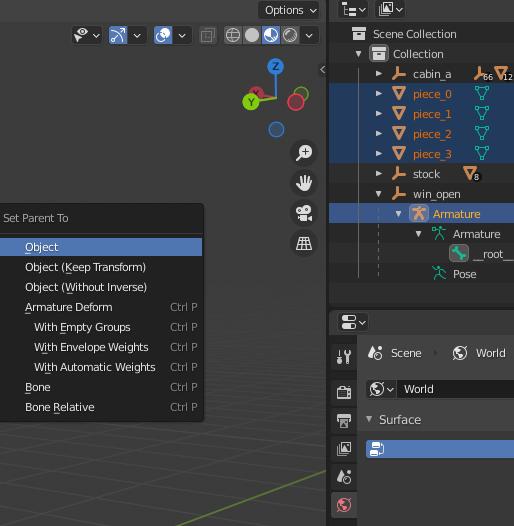
Now we have to move piece_0, piece_1, piece_2 and piece_3 into the Armature tree.
Select all 4 objects, press ctrl and select Armature, then press ctrl p and click on object
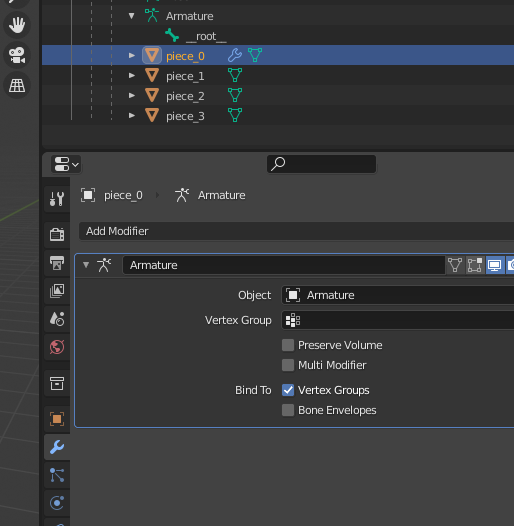
Now we have to add a modifer to all 4 objects.
Go to modifier tab, click on “Add modifier“ and select Armature
Click on Object and select Armature
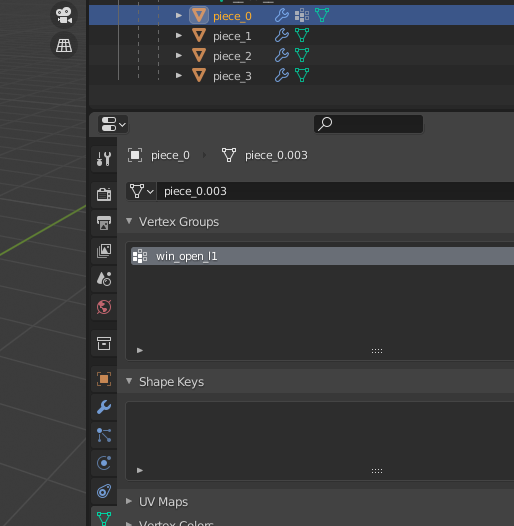
Now we have to create 2 vertex groups. Select piece_0, switch to object data properties,
open the tab vertex groups and click on thr “+“
Now rename it to “win_open_l1“
Do the same thing with piece_1.
Now select piece_2, add vertex group with the name “win_open_r1“
Do the same thing with piece_3.
Now we have to create bones to the objects.
Select piece_1 and press shift s and select Cursor to Selected
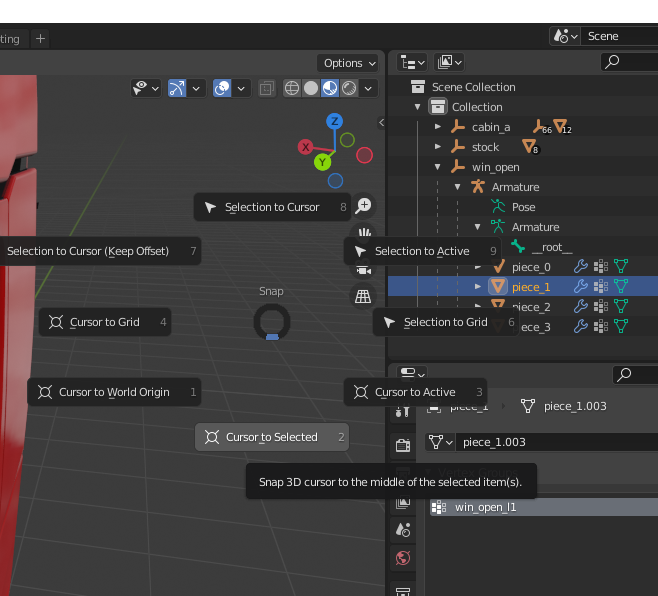
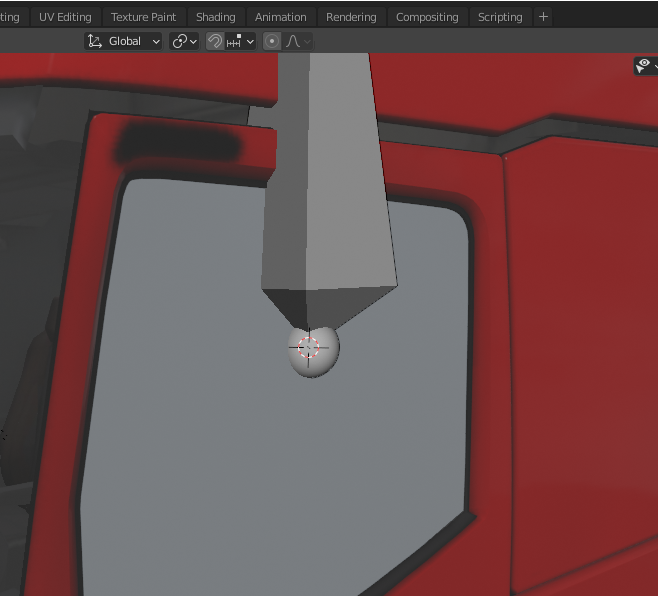
The 3D Cursor moved to the object piece_0 and piece_1.
Now select __root__ and go to edit mode. Now press shift a to add a new bone
Click on the new bone and go to bone properties. Under Relations click on the field Parent
and select __root__
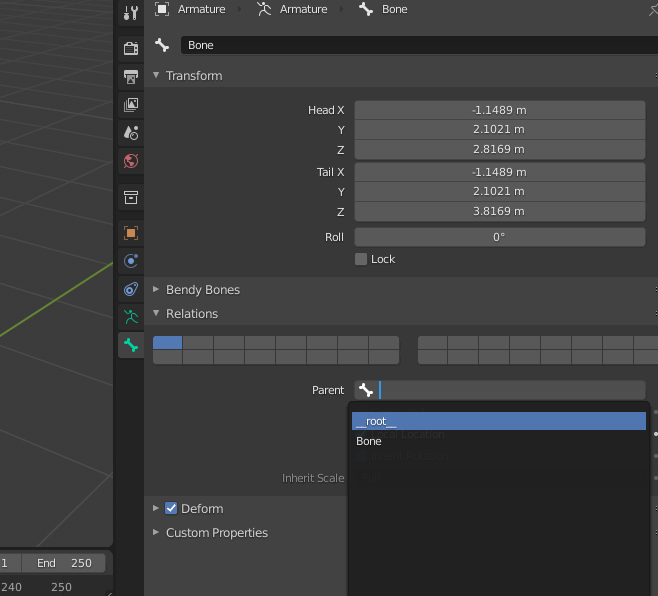
Now rename it to “win_open_l1“
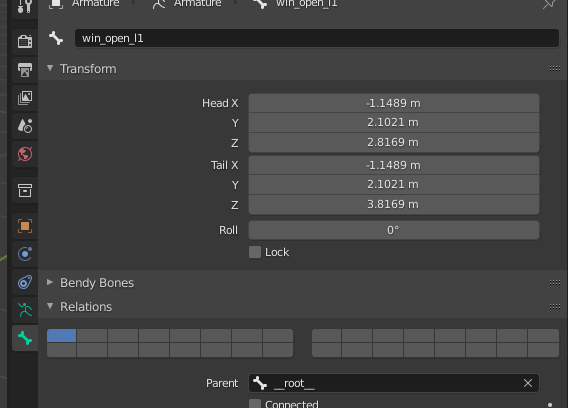
Change the tail Z value from 3.81169 m to 3 m
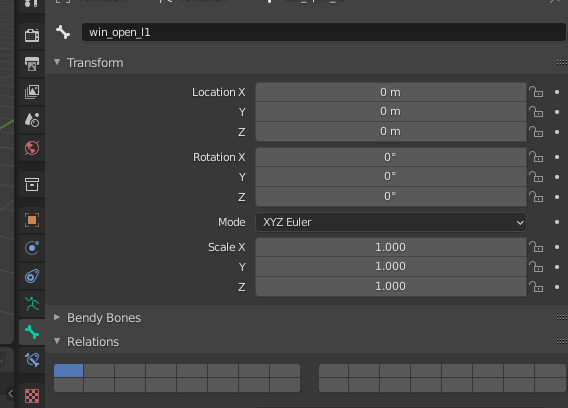
Now go to pose mode and change Mode to XYZ Euler
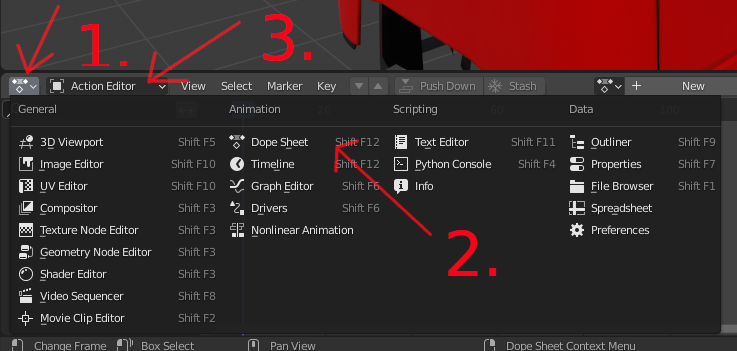
After this we have to go to the Action Editor. Select Dope Sheet and switch it to Action
Editor
Go into Object mode, select Armature (the yellow one, not the green one)
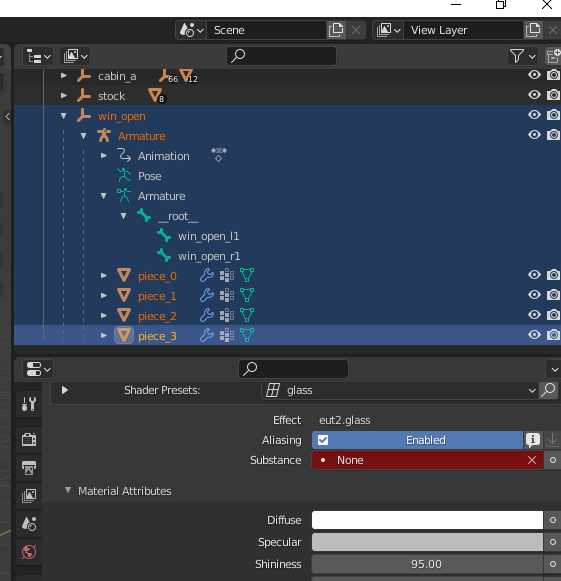
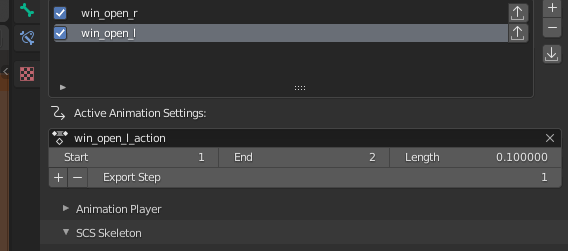
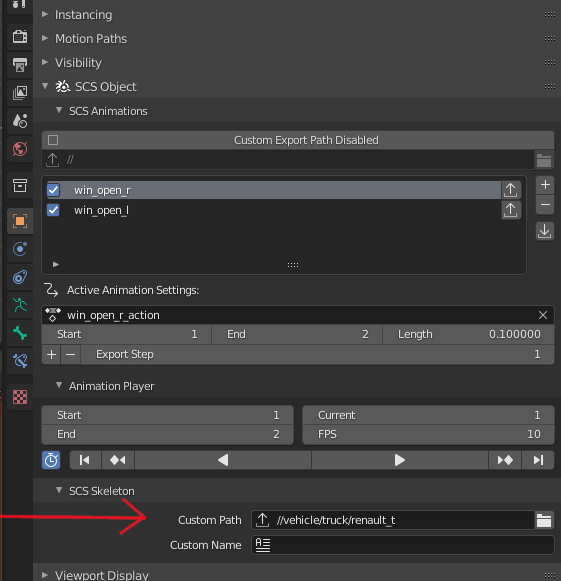
Go to Object Properties > SCS Object > SCS Animations and press 2x + to add 2 new
animations (we need left side and right side)
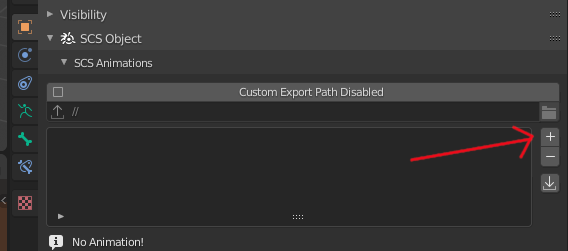
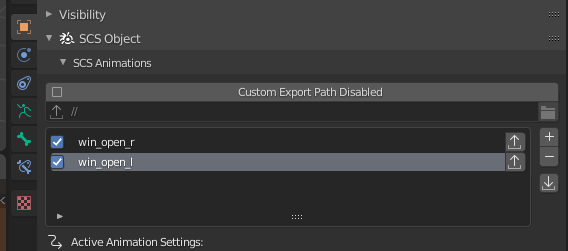
rename them to win_open_r and win_open_l.
Now click on win_open_l like the picture above so it is highlighted.
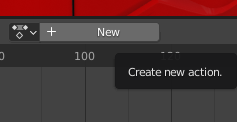
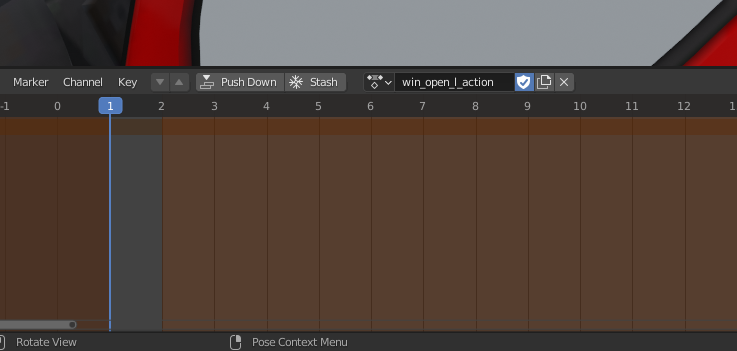
Go to Action Editor and click on “New“ to create a new action
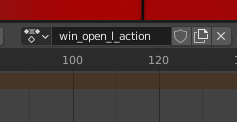
Double-click on the name and change it to win_open_l_action
Change the Active Animation Settings to win_open_l_action
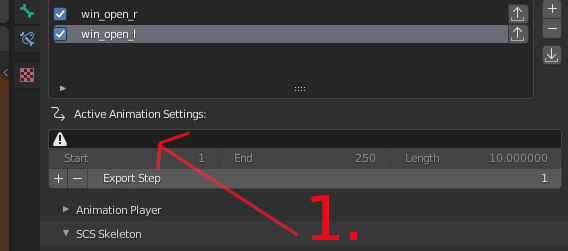
And change the values End to 2 and Length to 0.1
Now we have to assign the weight to the objects piece_0 and piece_1
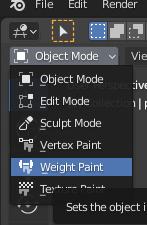
Select piece_0 and go to Weight Paint
Click on Vertex Selection and Select > All, then Weight > Set Weight
Now the object turns from blue to red. You can do the same by clicking on assign on the
right side
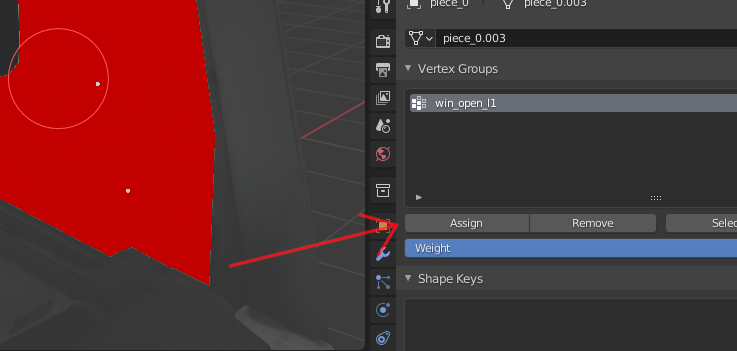
Repeat the same with piece_2 and piece_3.
Now we add an animation to the bone.
Select the bone in the middle of the window and go to pose mode. Make sure you are at the
first keyframe
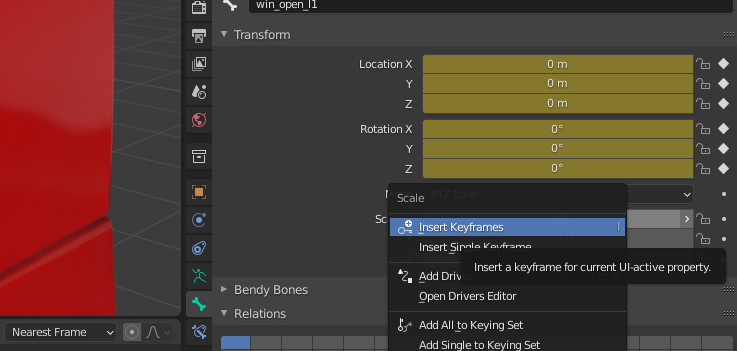
Now on the right side go to bone properties and right-click into the field for the location
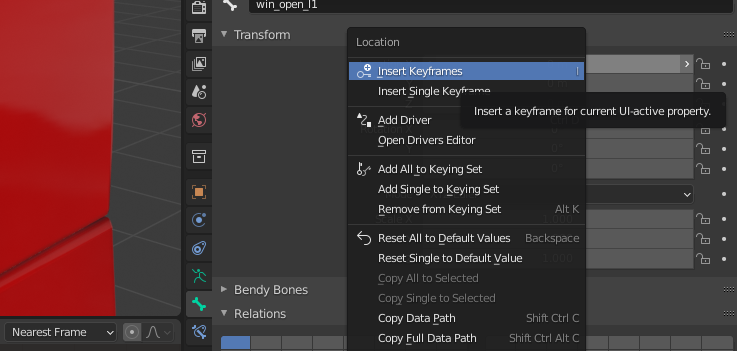
Repeat it with Rotation and Scale
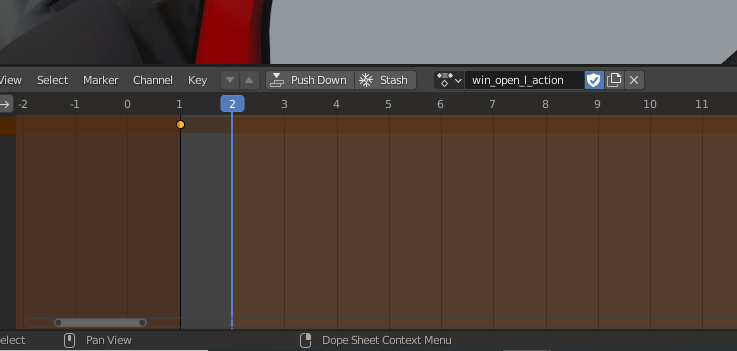
Now your first keyframe is created, let's switch to keyframe 2 by moving the blue line to the
right.
Now press g and z to move the bone down. You will see the location Y change.
Let's move it to Y = -0.57 m and X = -0.03 m
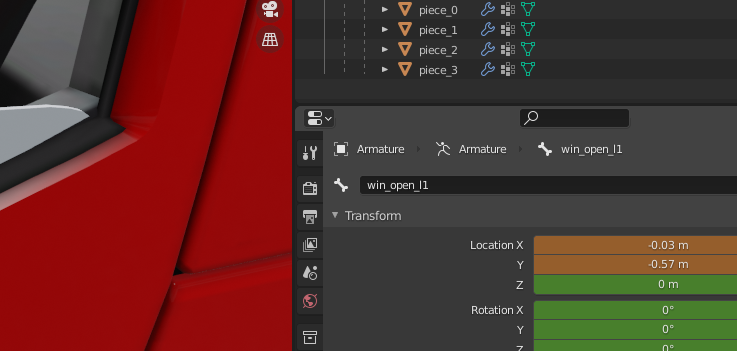
To apply the changes to the second keyframe, right-click again on the field and click “Insert
keyframes“ (very important!)
Now the animation for the left window is done. You can repeat the steps with the right side.
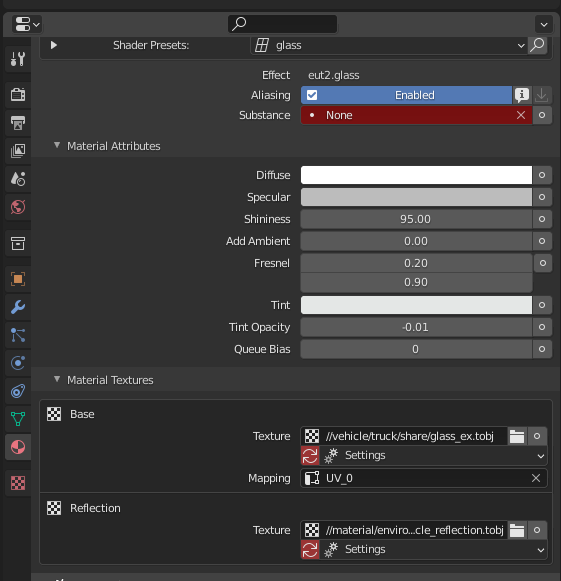
For the last step give the 4 objects a glass material
And add Custom Path to SCS Skeleton
And copy the win_open root tree with everything selected to a new blend file
(For my models I keep every object separate to the truck model)